
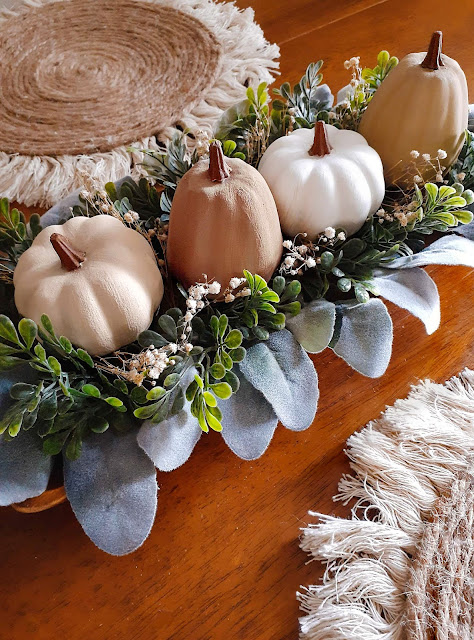
DIY Painted Pumpkins
I found a 4 pack of mini pumpkins at the bullseye's playground section from target for only 3 dollars. I wasn't a fan of the color of the pumpkins. I wanted something more neutral and muted to fit the decor of my home. Last year I painted on real pumpkins, (I'll leave a link to that post here, in case you want to check it out.) They turned out so beautiful, I almost didn't want to throw them out, but of course, I had too before they rotted. This year I went for a much simpler look that anyone can recreate. I was going for a more "realistic vibe." As supposed to the floral design I painted last year. After the change of colors, these fake pumpkins looked way more expensive than they actually were.
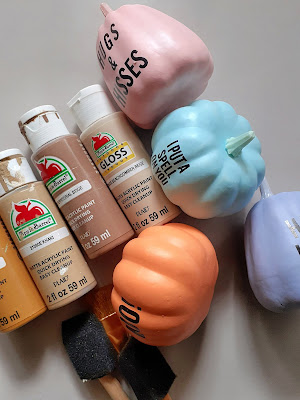
MATERIALS NEEDED:
- Fake pumpkins
- Paint
- Paintbrushes
- Baking soda (optional)
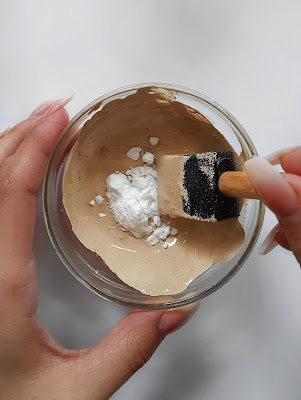
DIRECTIONS:
1.) In a container, add your paint of choice and a tiny bit of baking soda. About 1/2 of a tsp (to thicken the paint.)
2.) With this mixture, the paint dries rather quickly, so you'll want to work fast. Apply the first coat and allow the paint to dry completely before applying the second layer of paint.
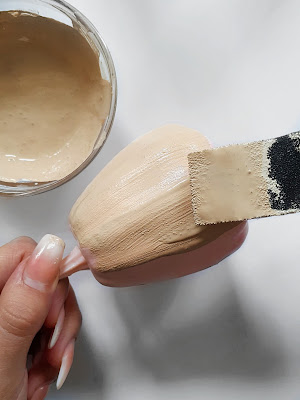
3.) You have the option of removing the plastic stems from the pumpkins and replacing them with real ones to make the pumpkin look more "realistic," or you could just paint them like I did.

That's it, guys! It's honestly that simple to make makeover these adorable little pumpkins. I hope you enjoyed today's post, until next time...


0 comments