• Home
  • Beauty
    • ALL BEAUTY
    • SKIN CARE
    • HAIR CARE
    • BODY CARE
    • NAIL CARE
    • BEAUTY TIPS
  • FASHION
    • ALL FASHION
    • DIY STYLE
    • DIY ACCESSORIES
  • Eco-friendly
    • ALL ECO
    • ZEROWASTE HOME
    • ZEROWASTE BEAUTY
    • UPCYCLE STLYE
  • Decor
    • ALL DECOR
    • DIY DECOR
    • WALL ART
    • UPCYCLE DECOR
    • CRAFTS
    • DIY FESTIVE
  • SEWING
    • ALL SEW
    • SEW STYLE
    • SEW ECO
    • SEW PROJECTS
  • Holiday
    • ALL FESTIVE
    • DIY CHRISTMAS
    • DIY AUTUMN
    • DIY HALLOWEEN
    • VALENTINE'S DAY
    • GIFTS
  • Dine
  • LIFESTYLE
  • Contact
  • Collaborate
  • Subscribe
  • POLICY
Powered by Blogger.

Opal Crown


A sustainable alternative to gift wrapping is furoshiki. Which is a traditional Japanese wrapping cloth used to wrap gifts or carry belongings. The type of fabric that is most commonly used is cotton, silk, nylon, or rayon. I love using fabric instead of single-use gift wraps to reduce waste. Cloth wrapping doesn't only look gorgeous, but it can last a very long time. You can use various pattern designs or colors depending on who you are planning on gifting it to. I wanted to make the fabric wrap using materials I already had at home. I found these beautiful fabric scraps I've used in previous projects. They were perfect and came out better than I expected.


MATERIALS:

  • Fabric 
  • Scissors
  • Needle & thread or sewing machine
  • Optional: greenery or flowers


DIRECTIONS:

1.) Cut the fabric to your desired size or depending on the size of your gift. (Mine measures 60 by 60 cm.)


2.) With the right side facing down, fold and press half an inch from the edge. 


3.) Fold and press the edge again. (Do this to each side.)


4.) Pin the edges so they won't unfold.


5.) Sew using a straight stitch by hand or with a sewing machine. 


6.) Do this to each side, and you are done!


7.) Decorate the gift with greenery or dried flowers.


Share
Tweet
Pin
Share
5 comments


Good morning everyone, today I'm going to show you how to make this beautiful embroidery hoop art design. I got the idea of painting a woman's portrait with elegant flowers from a YouTuber called Dalia. She's so talented and creative. ( I'll leave a link to her youtube channel here.) In her video, she used pressed flowers as the women's hair. I didn't have any on hand, so I decided to embroider mine instead. If you are new at embroidery,  I used the wagon wheel pattern to create beginner-friendly roses. 


MATERIALS:

  • Embroidery hoop
  • Embroidery thread & needle
  • linen Fabric
  • Puffy Paint
  • Scissors
  • Pencil


DIRECTIONS:

1.) Sketch a simple portrait of a woman with a pencil.


2.) Trace the woman's silhouette with black paint. 


3.) Allow the paint to dry.

5.) Draw a circle (the size you want the rose to be.) 

6.) Draw 5 lines coming out from the center. ( It should look like a wagon wheel.)


7.) Bring the needle up through the middle of the wagon wheel and stitch the five lines.

8.) Next, weave the needle in and out of the wagon wheel. (Weaving the thread over and under.) 


9.)Keep weaving the needle until the wagon wheel is full.


10.) Decorate the roses with leaves.


Share
Tweet
Pin
Share
No comments

I was looking online for a simple art piece to place in my dining room. I wanted something minimal and boho when I got the idea to DIY my own wall decor piece instead. I took inspiration from my previous botanical wall art design I made over a month ago. Expect this time, I added embroidery to add a different touch. I used a simple stitch to embroider my design. Now, let me show you how I did.


 MATERIALS NEEDED:

  • Embroidery thread
  • Needle
  • Canvas
  • Acrylic Paint
  • Paintbrushes
  • Pencil or a printed photo of choice


DIRECTIONS:

1.) I started off by painting 3 different-sized blobs using different colored paint.


2.) Once the paint dried, I sketched my design. (You can use a printed photo if you don't want to draw.)


3.) If you printed a photo, trace the design by poking holes with the embroidery needle. Try your best to keep the holes equally apart. (If you choose to draw instead, you can skip this step.)


5.) The last step was to embroider the canvas using the running stitch.


Share
Tweet
Pin
Share
No comments

 Canvas tote bags are easy to upcycle. Hand painting a design is a fun way of spicing up any plain fabric bag. I've already painted a bag before, so to switch it up a bit, I embroidered this one. Since I'm still new at embroidery, I picked a simple design to start off with. I found a minimal line art image of a woman on Pinterest. I loved the simplicity of it. I knew it was going to be easy for me to recreate. I honestly wasn't expecting the tote bag to turn out this cute. I love it and can't wait to share with you guys how easy it was to make.


MATERIALS NEEDED:

  • Tote bag
  • Fabric paint
  • Paintbrushes
  • Embroidery thread & needle
  • Embroidery hoop
  • Masking tape


DIRECTIONS:

1.) Create a border using masking tape.

2.) Paint three organic shapes in different sizes.


3.) Choose an image and print it. Lightly trace your design onto the tote bag or draw one instead.


4.) Use the running stitch pattern to embroider your design.


5.) Remove the masking tape, and you are all done!


Share
Tweet
Pin
Share
1 comments


I had no idea what to gift my parents for Christmas this year, but I knew one thing for sure, I can never go wrong with alcohol. That's probably the best thing anyone could ever gift them, and I swear, I'm not exaggerating when I say that. To make their gift feel more special, I made a reusable gift bag to place their bottle of wine inside, so let's begin!


MATERIALS NEEDED:

  • Fabric 
  • Needle & Thread/Sewing Machine
  • Pins
  • Scissors


DIRECTIONS:

1.) To begin, you'll need some fabric, any kind will work. I'm using leftover cotton fabric I had in my stash.

2.) Fold the fabric in half, lay the bottle on the fabric, and cut it in a rectangular shape. Cut the rectangle 2 inches wider than the bottle, and 4 inches longer at the top.

3.) Turn the fabric with the right sides together, and stitch the sides.


4.) Fold the top of the fabric over twice and sew.


5.) Flip the fabric over and decorate the bag as you'd wish! I wrote Merry Christmas, tied a ribbon, and some greenery.


Share
Tweet
Pin
Share
1 comments


It's been almost 5 years since we moved into our apartment, and for some reason, I've never purchased throw pillows for our couch. I know, it's kinda outrageous, right? I wasted so much time on other areas of our home that I sorta forgot about them. Since I'm redecorating our living room, I thought it was the perfect opportunity for a DIY project. I have so many ideas in mind, but first, I wanted to start out with something easy and finally make some decorative pillows. 


MATERIALS NEEDED:

  • Pillowcase (I made my own using  a natural flour sack towel)
  • Needle & Thread
  • Scissors
  • Yarn
  • Fabric Adhesive
  • Fabric Paint
  • Paintbrushes


DIRECTIONS:

1.) To make the pillow covers, I folded the towel in half and sewed it along the edges. Leaving one side of the pillow open. If you're using a pillowcase, then skip this step.


2.) To make the tassels, cut a piece of cardboard, any size you'd prefer, and wrap the yarn around the cardboard 30 times.


3.) Cut a piece of yarn, around 5 inches long, and tie a knot on the center.


4.) Place the 5-inch string upwards, and cut the ends to create the tassel.


5.) Shape your tassel, and tie a piece of yarn to create the "neck." 


6.) Continue to do this until you make 3 other tassels for your pillow.


7.) To attach the tassels to the throw pillow, use a yarn needle to sew each tassel to all 4 corners of the pillowcase.


8.) To create the braids, cut 6 pieces of yarn, similar in size, split them into 3 sections, and braid them.


9.) I made 2 and attach them using fabric glue, but you can use a hot glue gun.


10.) You can stop here if you'd like or you can hand paint a design. I painted a mud-cloth-inspired design.


For the second pillow, I repeat the same steps. Except I made pom-poms instead of tassels.


Share
Tweet
Pin
Share
No comments


Last weekend, I went to the craft section at Walmart to buy some paint and a couple of other stuff I needed, when I stumbled upon some bandanas. I knew instantly what I needed them for and immediately grabbed a few. Once an idea pops in my head, there's no going back, I need to just go for it and do it. Halter tops are one of my favorite tops to wear during the summertime, so when I saw the bandana, the first thing that crossed my mind was to make my own. Several online stores already sell bandana tops but are usually priced anywhere between 20-40 dollars. The bandana itself cost me 1 dollar and it took me less than 10 minutes to make.


MATERIALS NEEDED:
  • 1 Bandana
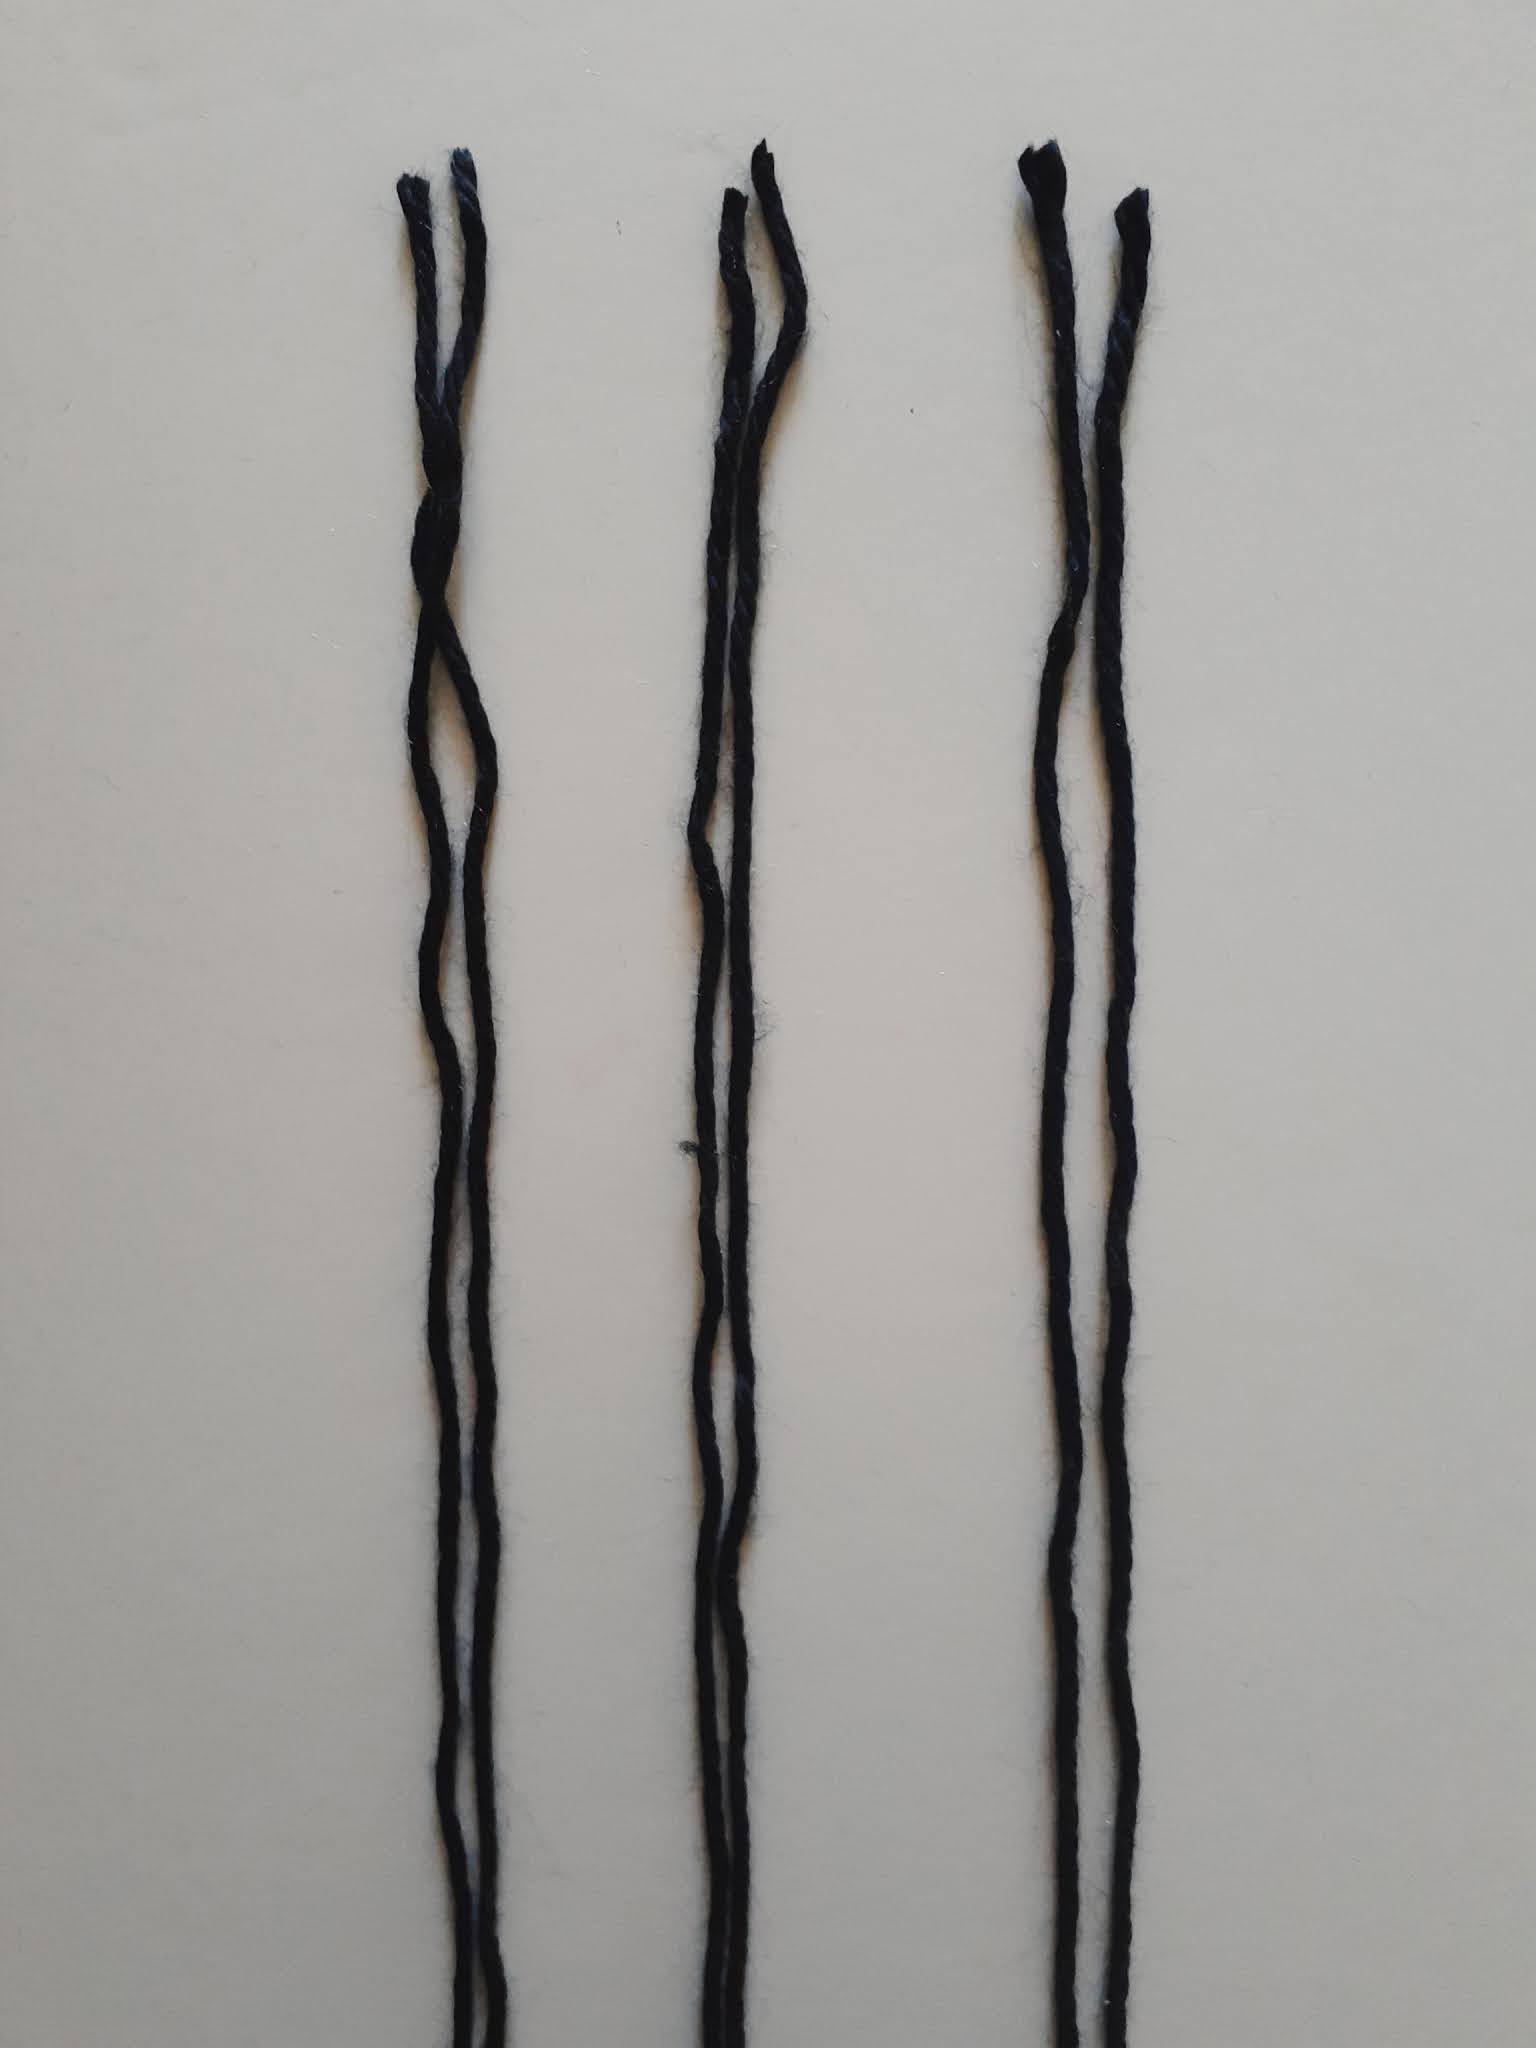
  • 2 Strings
  • Needle & Thread
  • Scissors


DIRECTIONS:

1.) Start by folding the bandana in half to form a triangle.


2.) Fold over the top part and sew straight across.


3.) Fold over the two bottom sides of the bandana and sew.


4.) To create the neckline, insert one of the strings through the tunnel of the top.


5.) Repeat the same step on the bottom to be able to tie it from the back.


ALL DONE!

Share
Tweet
Pin
Share
2 comments
Older Posts

About me


Hi there! My name is Stefany. I am the writer and creator of Opal Crown. a crafty blog that covers DIY projects, beauty, fashion, decor, lifestyle, sustainability, and much more.

Subscribe For Weekly Updates

* indicates required

Popular Posts

  • Fringed Tassel Earrings
  • DIY Flaxseed Mask For Hair Growth
  • How to make rice water for hair growth
  • DIY Bandana Halter Top
  • DIY Beaded Phone Charm
  • DIY Rose Petal Body Scrub
  • DIY HAIR & SCALP DETOX MASK (+ How to use it)
  • DIY Aloe Vera Mask For Glowing Skin

Featured Post

DIY Embroidered Christmas Ornaments

Are you looking for a unique gift idea or new, adorable ornaments to hang on your tree this year?   I have the answer—embroidered ornaments!...

Click To Download

Click To Download
Stay focused and organized throughout the day with a daily planner to help you stay on track with your daily tasks. There are 3 different styles to choose from.

Follow Us

  • instagram
  • pinterest
  • youtube
  • tik tok

Created with by ThemeXpose | Distributed by Blogger Templates