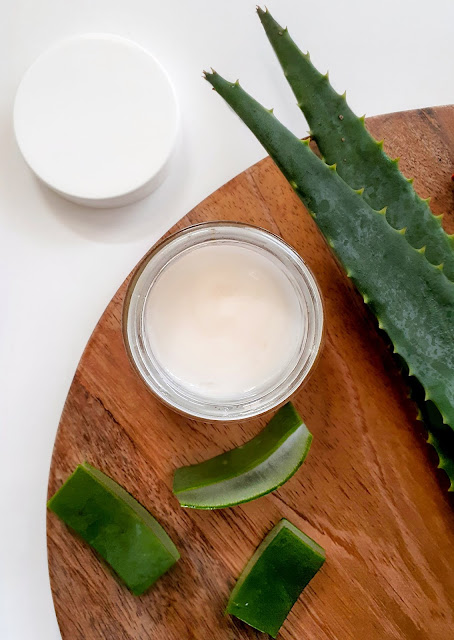
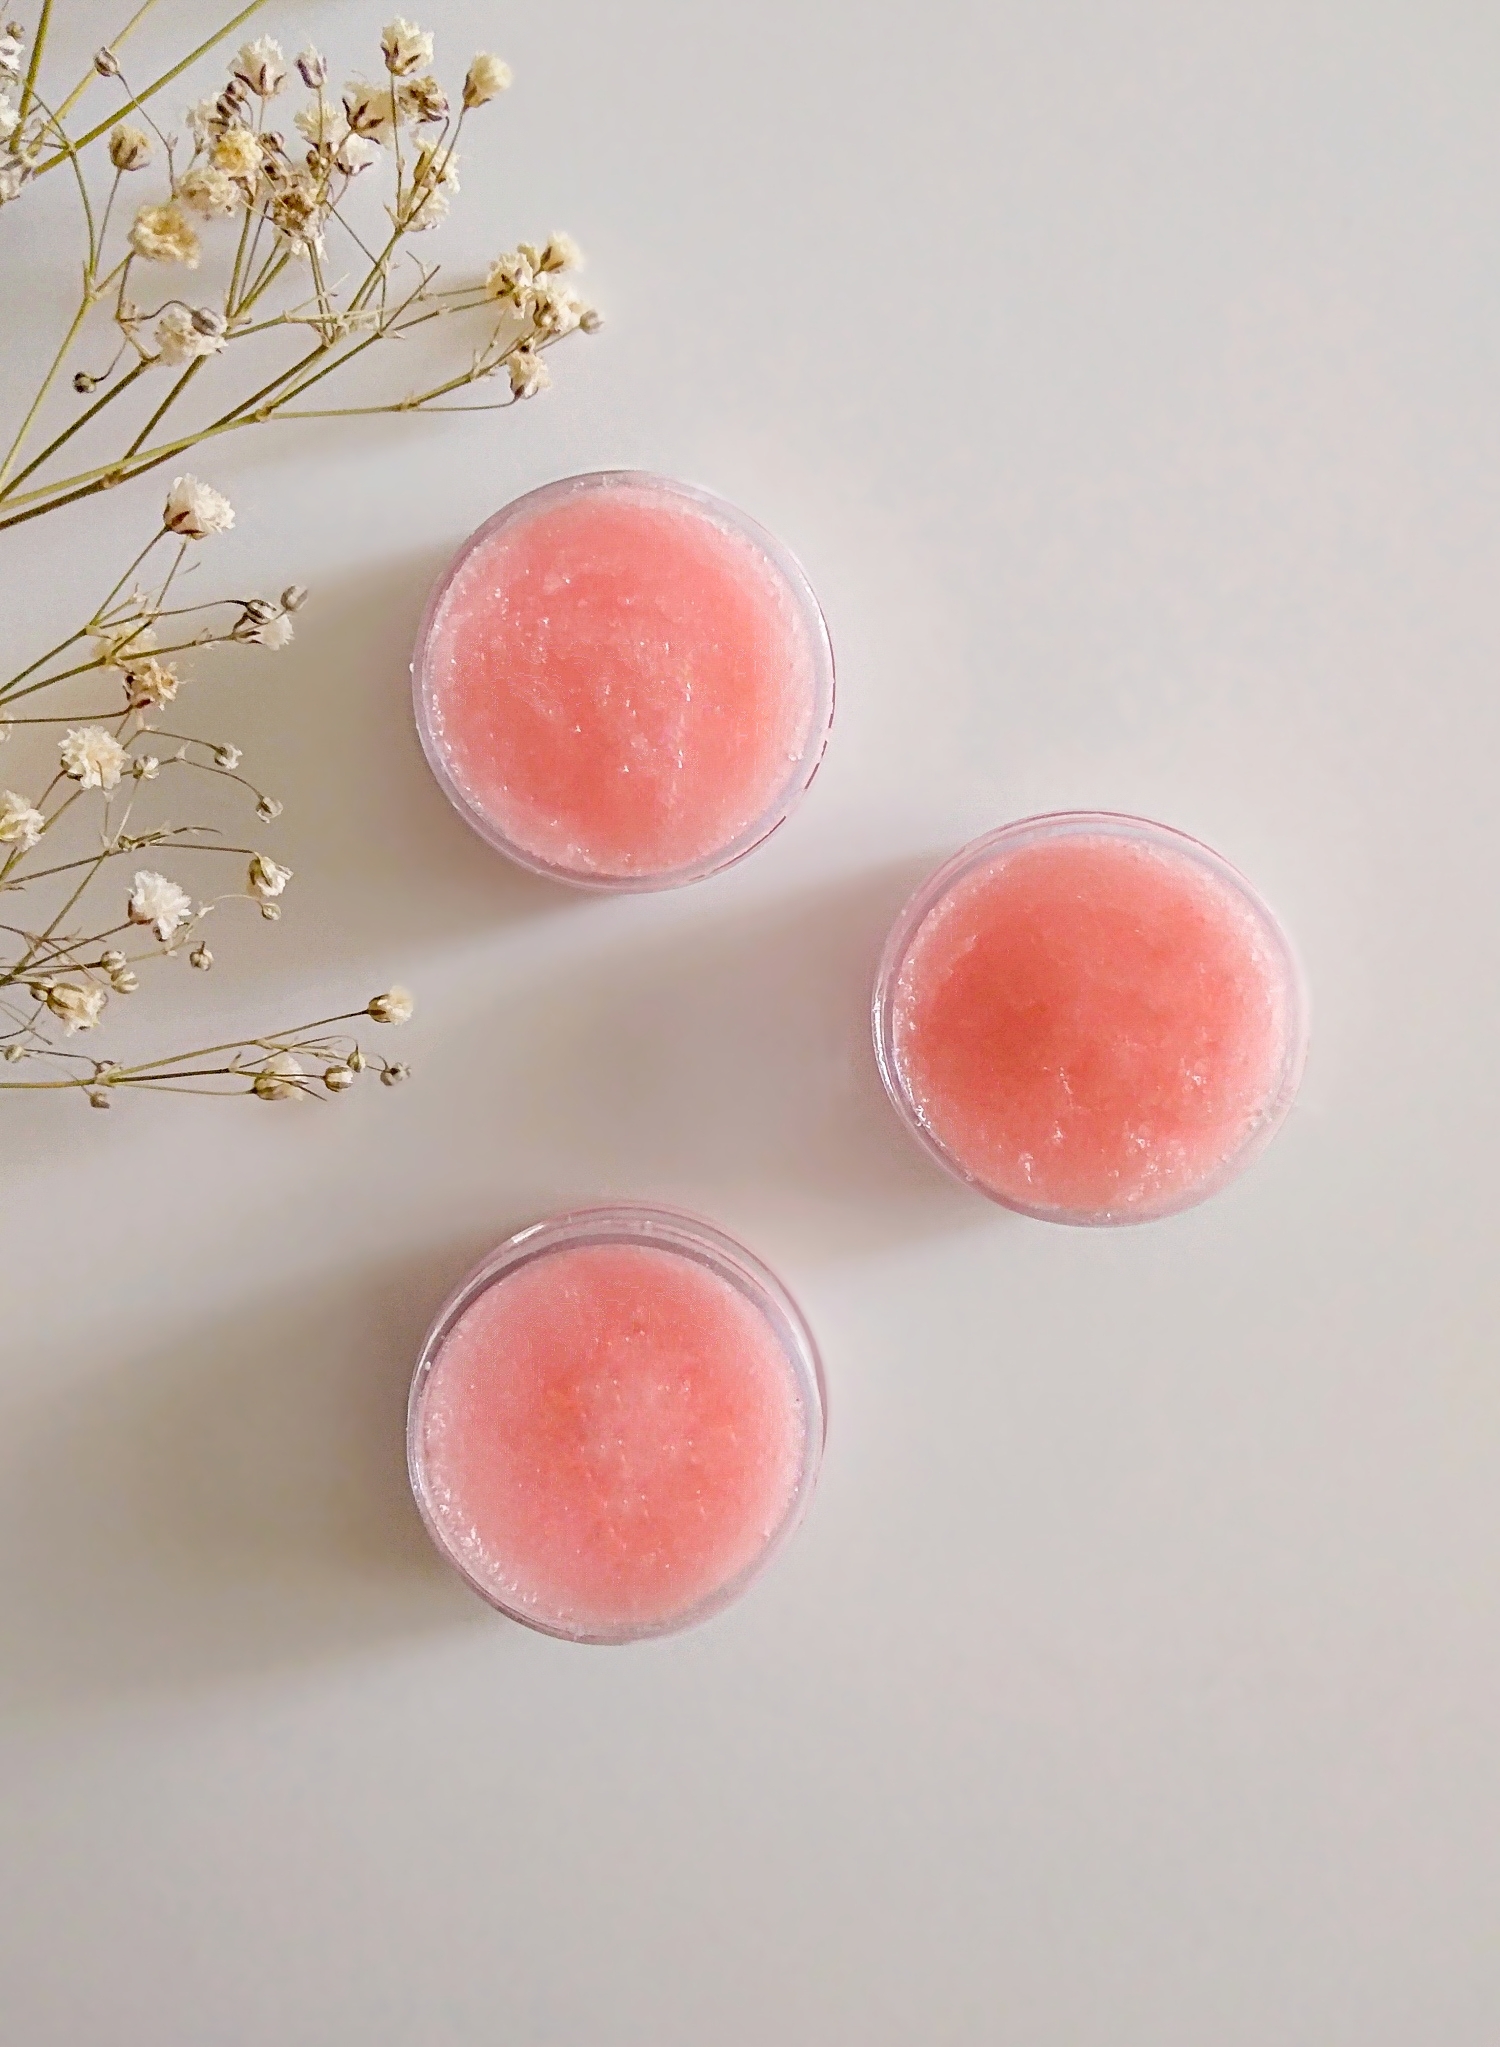
Making this turmeric jelly mask is easy. It will give your skin a revitalized appearance! Did you know that turmeric is loaded with benefits that can help treat various skin conditions? When combined with aloe vera gel, it can benefit the skin by nourishing, soothing irritation, preventing acne/pimples, and fighting signs of aging. Honey and jojoba oil are also added to this recipe to brighten and hydrate to give the skin a radiant glow.

INGREDIENT BENEFITS:
TURMERIC:
- lightens hyperpigmentation
- brightens skin tone
- contains anti-bacterial & anti-inflammatory properties
- helps heal acne
- clears skin
- natural exfoliator
- reduces dark spots
- boosts circulation
- anti-aging (boost collagen production)
- moisturizes dry skin
- helps with psoriasis & eczema
ALOE VERA:
- reduces fine lines & wrinkles
- adds a natural glow
- depuffs skin
- soothes
- nourishes
- hydrates dry skin
- neutralizes free radical damage
- fights breakouts
- heals wounds
- full of antioxidants
- anti-inflammatory & anti-bacterial properties
HONEY:
- fights acne & blemishes
- brightens skin complexion
- lightens scars
- natural exfoliator
- minimizes wrinkles
- adds a dewy glow
- moisturizes dry skin
- helps with psoriasis
- packed in antioxidants
- anti-inflammatory & anti-bacterial properties
JOJOBA OIL:
- promotes skin regeneration
- anti-aging
- contains vitamin B complex (fades pigmentation)
- contains vitamin E
- loaded with antioxidants
- helps fight free radical damage
- repairs skin
- non-greasy moisturizer
- non-comedogenic
- anti-bacterial & anti-inflammatory properties
- heals wounds
- helps with acne
- helps with psoriasis & eczema
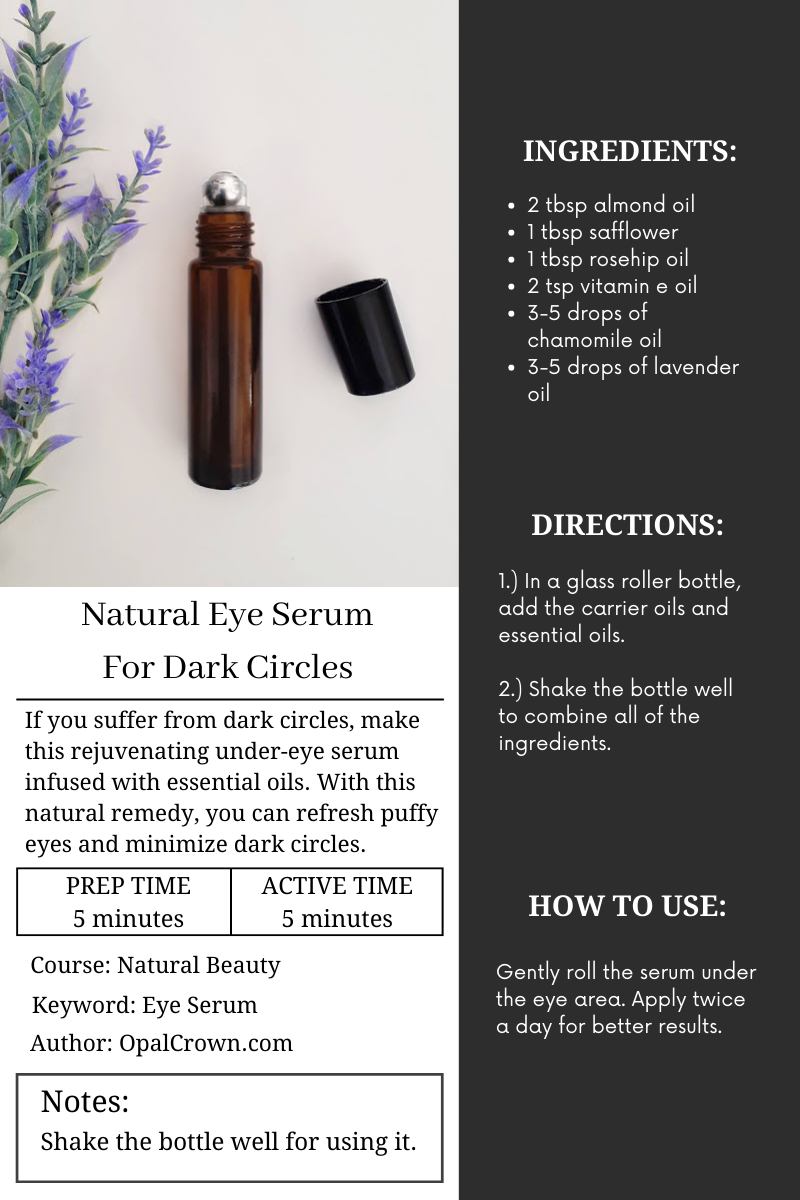
INGREDIENTS:
- 3 tbsp Aloe vera gel
- 1 tbsp Jojoba oil
- 1 tsp Turmeric powder
- 1/4 tsp Honey
DIRECTIONS:
- Add the aloe vera, honey, and jojoba oil to a clean bowl. Mix to combine.
- Add the turmeric powder and mix until well incorporated.
HOW TO USE:
- Before applying the mask, cleanse your skin.
- With a mask brush, apply the face mask to your entire face and leave it on for 10 minutes.
- Rinse and follow up with a moisturizer.
Turmeric may stain your skin and clothing, so make sure to use it with extra care when mixing up your recipe. It is recommended to use wild turmeric, which is non-staining and is used in skincare products.


.png)


.png)

.png)