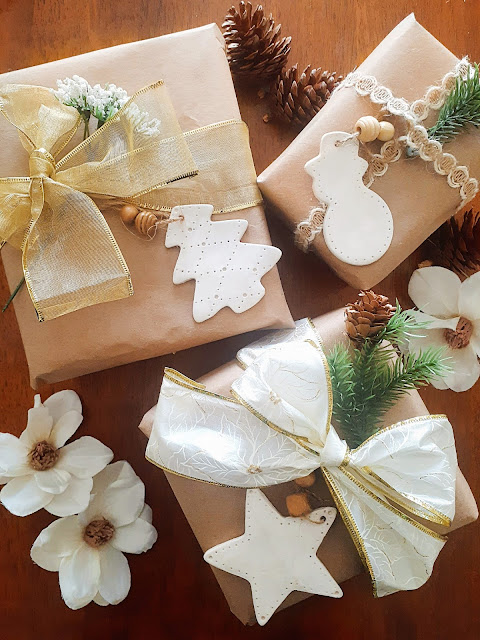
Are you looking for a unique gift idea or new, adorable ornaments to hang on your tree this year? I have the answer—embroidered ornaments! They add the perfect handmade touch to any Christmas tree.

Year after year, I use the same decorations. I really wanted to include something unique. I wanted to add a personal touch, and what better way to do so than with embroidery art? So grab a warm blanket and your favorite cup of coffee and let's get sewing.
MATERIAL NEEDED:
- Wood embroidery hoops
- Embroidery floss
- Embroidery needles
- Scissors
- Pencil
- Ribbon or twine for hanging
- Fabri-tac glue
- Optional: Felt
- Optional: Brown paint and a paintbrush

DIRECTIONS:
1.) This step is optional. Water down some brown paint to stain the wood from the embroidery hoop. It adds a little something extra to the overall look.

2.) Make a few sketches of your design in a notebook before drawing on your fabric. When you're satisfied with the look, transfer it to your fabric.

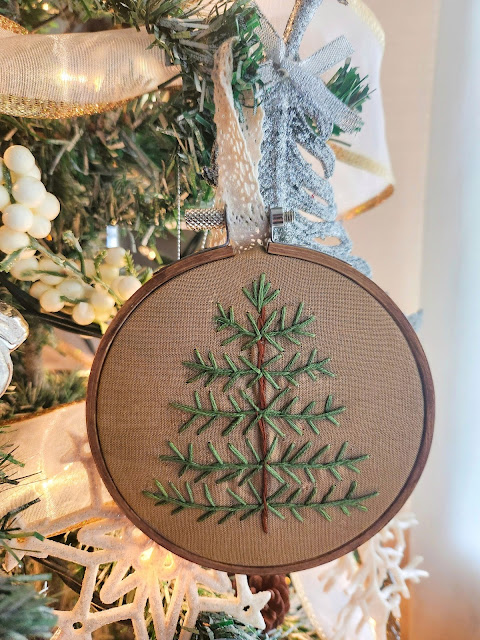
3.) Let's move on to the Christmas tree. For the trunk, I used the back stitch method using brown thread.

4.) I used the same stitch for the tree leaves.


5.) To hang the embroidery hoop, tie a ribbon or piece of twine to the top.
6.) As for the back, apply glue all around the outer edge. Fold the fabric over and press it into the inner ring of the hoop as you go around it.
7.) This step is optional but ideal if you want to cover the back of the stitches, trace around the inner hoop on the felt fabric, and cut the circle out.
8.) Place the felt on the back of the hoop and attach it with a running stitch.

All done!

.jpg)