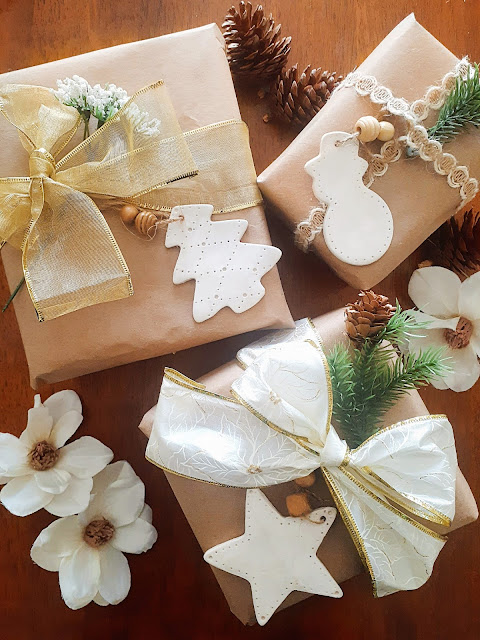
DIY Clay Gift Tags ( Doubles As Ornaments )
MATERIALS NEEDED:
- Air dry modeling clay
- Rolling pin or glass cup
- Cookie cutters
- Yarn or twine
- Skewer (or anything pointy to make the holes)
- Sculpey glaze
DIRECTIONS:
1.) Tear off a chunk of the clay and warm up by working with your hands.
2.) Roll out the clay to your desired thickness.
3.) Use cookie cutters to cut the shapes you want.
4.) Carefully remove the excess clay.
5.) Use anything pointy to poke a small hole on the top of each shape.
6.) To smooth out any areas, use a bit of water and your fingertips.
7.) Allow the tags to dry for 24-48 hours
8.) Once dried, tie them to your gifts with yarn or twine.


1 comments
Enhance your DIY gift-giving with unique touches! The beautiful clay gift tags on Opal Crown are perfect for adding a personal touch to presents. To complement this, consider incorporating Vintage Posters from Bobangles. These posters add a nostalgic and artistic flair to any gift, making them more memorable and cherished. Plus, they can double as decorative keepsakes. For creative inspiration and unique gift ideas, visit Bobangles' collection of vintage posters and elevate your gift-giving game.
ReplyDelete