
Pressed Flower Bookmarks
These pressed flower bookmarks are easy to make and look absolutely beautiful! It's a fun project to do with your kids or on your own. There are only a few supplies needed to make the bookmarks, and I'm sure you already have everything you'll need.
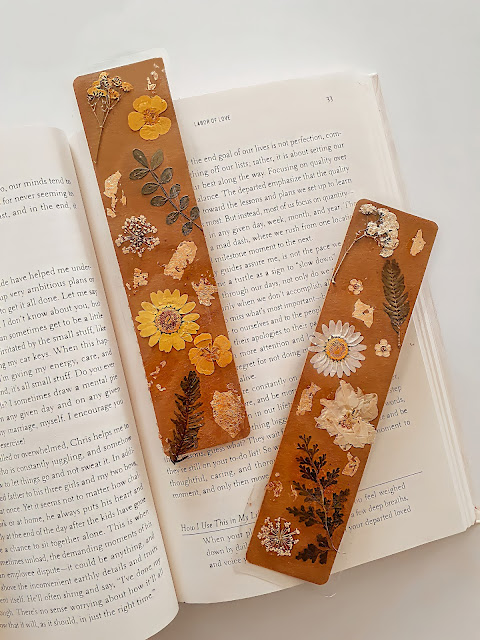
My son is homeschooled, and one of the many science projects he has required him to make botanical bookmarks out of flowers/leaves he found outside. We had a lot of fun collecting flowers we gathered on our trip to the park. You can either press the flowers in a book for a week or use the microwave for a faster alternative. You can also buy pressed flowers online and skip all of these steps if you're making the bookmarks for yourself.
If you love this craft, you’ll want to check out our Water Color Botanical Bookmarks!
MATERIALS NEEDED:
- Fresh flowers/leaves or pressed flowers
- Heavy items like books
- Paper towel
- Printer paper
- Kraft cardstock
- Self-adhesive laminating sheets
- Elmer's glue or glue stick
- Scissors
- Corner rounder punch (optional)
- Gold Flakes (optional)


If you want to be extra like me, you can add gold flakes to the bookmarks.


0 comments