• Home
  • Beauty
    • ALL BEAUTY
    • SKIN CARE
    • HAIR CARE
    • BODY CARE
    • NAIL CARE
    • BEAUTY TIPS
  • FASHION
    • ALL FASHION
    • DIY STYLE
    • DIY ACCESSORIES
  • Eco-friendly
    • ALL ECO
    • ZEROWASTE HOME
    • ZEROWASTE BEAUTY
    • UPCYCLE STLYE
  • Decor
    • ALL DECOR
    • DIY DECOR
    • WALL ART
    • UPCYCLE DECOR
    • CRAFTS
    • DIY FESTIVE
  • SEWING
    • ALL SEW
    • SEW STYLE
    • SEW ECO
    • SEW PROJECTS
  • Holiday
    • ALL FESTIVE
    • DIY CHRISTMAS
    • DIY AUTUMN
    • DIY HALLOWEEN
    • VALENTINE'S DAY
    • GIFTS
  • Dine
  • LIFESTYLE
  • Contact
  • Collaborate
  • Subscribe
  • POLICY
Powered by Blogger.

Opal Crown


Ever since I bought my first bralette, I realized how uncomfortable regular bras can be. I love that bralettes don't have underwire, so because of that, I wear them to bed (yup, they're that comfortable.) I must admit that making a bralette wasn't easy for me. Especially since my sewing skills aren't necessarily the best, but in the end, it was all worth it. Plus, I ended up saving money along the way since bras, in general, are pretty pricey. Want to learn how to make your own bralette? Then, let's get started!


SUPPLIES USED:

  • Lace trim
  • Cotton fabric or any other stretchy material  
  • Elastic 
  • Needle & Thread
  • Pins
  • Scissors
  • Paper & pen


INSTRUCTIONS:

1.)  Begin by measuring the elastic around your chest.

  • Measure the width of your chest (under your bust.)  Make sure the elastic fits snug for support and cut to make a waistband.
  • Measure the length (centered) under the bust and over the shoulder. Cut 2 elastics for each side to create the straps
  • TIP: You can always use one of your bras as a guide.


2.)  Draw 2 triangular shapes (identical as possible) the size of your breast. Make sure to add a 1/2-inch seam allowance to each triangle. (My measurements were 6 x 3 inches for a B cup.)


  • Cut 2 patterns for each side. In total, you should have 4 pieces.


3.)  Pin the curved edges of the patterns together (creating 1 large triangle) and sew, leaving a 1/2 inch seam allowance.


4.)  Repeat the same step for the other 2 patterns.


  • Add a thin elastic around the edges. 
  • Pin the elastics along the sides and sew them in place.


  • This is what it should look like after it's been stitched.


  • 5.) Add lace on both sides to frame the 2 bralette cups and sew.


    • If you'd like you can also add padding to the bralette, now would be the right time to do so.


    6.)  Now take the waistband and join it with the 2 triangles to create the bralette.


    7.)  Sew straight across, joining the bralette cups to the waistband


    8.)  To attach the bra, sew the ends together.


    11.)  Finally, sew the 2 elastics on each side of the bralette to make the straps, and you're all finished!


    I must say, I'm really proud of myself for making something I never thought I could, not even in a million years. This bralette looks just as good as any store-bought bralette would. What did you guys think? Let me know in the comment section below. 💜


    Share
    Tweet
    Pin
    Share
    No comments
    Older Posts

    About me


    Hi there! My name is Stefany. I am the writer and creator of Opal Crown. a crafty blog that covers DIY projects, beauty, fashion, decor, lifestyle, sustainability, and much more.

    Subscribe For Weekly Updates

    * indicates required

    Popular Posts

    • DIY Beaded Phone Charm
    • DIY Flaxseed Mask For Hair Growth
    • Thrifted Scalloped Glass Bowl Makeover
    • Fringed Tassel Earrings
    • How to make rice water for hair growth
    • DIY HAIR & SCALP DETOX MASK (+ How to use it)
    • DIY Rose Petal Body Scrub
    • DIY ROPE PLACEMATS WITH FRINGE

    Featured Post

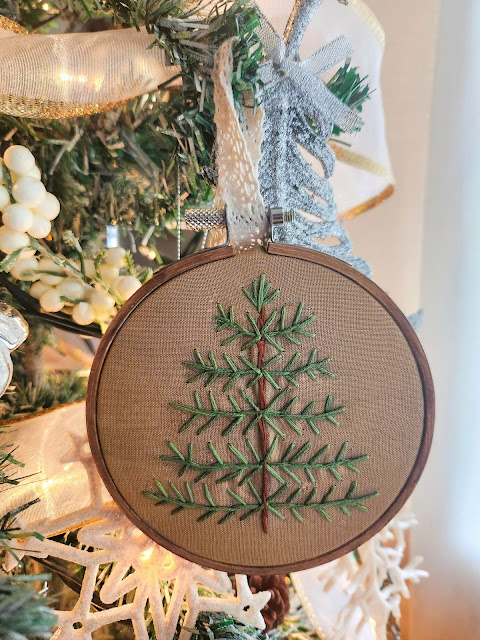
    DIY Embroidered Christmas Ornaments

    Are you looking for a unique gift idea or new, adorable ornaments to hang on your tree this year?   I have the answer—embroidered ornaments!...

    Click To Download

    Click To Download
    Stay focused and organized throughout the day with a daily planner to help you stay on track with your daily tasks. There are 3 different styles to choose from.

    Follow Us

    • instagram
    • pinterest
    • youtube
    • tik tok

    Created with by ThemeXpose | Distributed by Blogger Templates