• Home
  • Beauty
    • ALL BEAUTY
    • SKIN CARE
    • HAIR CARE
    • BODY CARE
    • NAIL CARE
    • BEAUTY TIPS
  • FASHION
    • ALL FASHION
    • DIY STYLE
    • DIY ACCESSORIES
  • Eco-friendly
    • ALL ECO
    • ZEROWASTE HOME
    • ZEROWASTE BEAUTY
    • UPCYCLE STLYE
  • Decor
    • ALL DECOR
    • DIY DECOR
    • WALL ART
    • UPCYCLE DECOR
    • CRAFTS
    • DIY FESTIVE
  • SEWING
    • ALL SEW
    • SEW STYLE
    • SEW ECO
    • SEW PROJECTS
  • Holiday
    • ALL FESTIVE
    • DIY CHRISTMAS
    • DIY AUTUMN
    • DIY HALLOWEEN
    • VALENTINE'S DAY
    • GIFTS
  • Dine
  • LIFESTYLE
  • Contact
  • Collaborate
  • Subscribe
  • POLICY
Powered by Blogger.

Opal Crown


Something I've wanted for quite some time now is a travel utensil holder. I don't go out much, but when I do, I'm out for most of the day.  I always carry with me a reusable water bottle, but for some darn reason, I always forget to pack my utensils! It happens more often than I would like to admit, and of course, I always feel guilty about it. That's why I finally decided to make my own cutlery wrap. I couldn't wait to share with you guys how I made it without using a sewing machine (of course, to save yourself some time, you should definitely use one.) But if you're like me and still don't know how to properly use a sewing machine, then this tutorial is just for you! It was really simple to make, so let's get started, shall we?


SUPPLIES NEEDED:


  • The fabric of choice ( I used two patterns)
  • Needle & Thread
  • Pins
  • Scissors 
  • Ruler
  • Chalk
  • Ribbon/String
INSTRUCTIONS:

1.) Start by cutting the fabrics into two rectangular shapes (approximately 10 inches x 14 inches.) Make sure to cut the fabric taller than the tallest utensil. 

Use two different kinds of patterns if you want the outside of your wrap to be different.


2.) Then pin the fabrics together with the right sides facing each other.


3.) Stitch 3 sides of the fabric together, make sure to leave a half-inch seam allowance between the edge.

 Leave one side of the cutlery wrap open.


4.) When you are done sewing, turn the fabric inside out. Fold the edges of the opening in, and sew in place.


5.) To create the pocket, measure a piece of fabric ( 6inches x 10 inches.) 


6.) Fold the edges over and hem the top side only.


7.) Pin the pocket to the cutlery wrap. Then, sew the sides and the bottom of the fabrics together.


8.) Use a ruler and chalk to mark even lines on the pocket.


9.) Then, stitch straight down the lines to create individual pockets.


10.) Finally, wrap it using a piece of lace or string.

Did you enjoy today's post? Let me know in the comments down below what other things you would like me to DIY next? See you next time, guys!


Share
Tweet
Pin
Share
No comments
Older Posts

About me


Hi there! My name is Stefany. I am the writer and creator of Opal Crown. a crafty blog that covers DIY projects, beauty, fashion, decor, lifestyle, sustainability, and much more.

Subscribe For Weekly Updates

* indicates required

Popular Posts

  • DIY Beaded Phone Charm
  • DIY Flaxseed Mask For Hair Growth
  • DIY ROPE PLACEMATS WITH FRINGE
  • DIY HAIR & SCALP DETOX MASK (+ How to use it)
  • Thrifted Scalloped Glass Bowl Makeover
  • DIY Aloe Vera Mask For Glowing Skin
  • Fringed Tassel Earrings
  • Playhouse Makeover

Featured Post

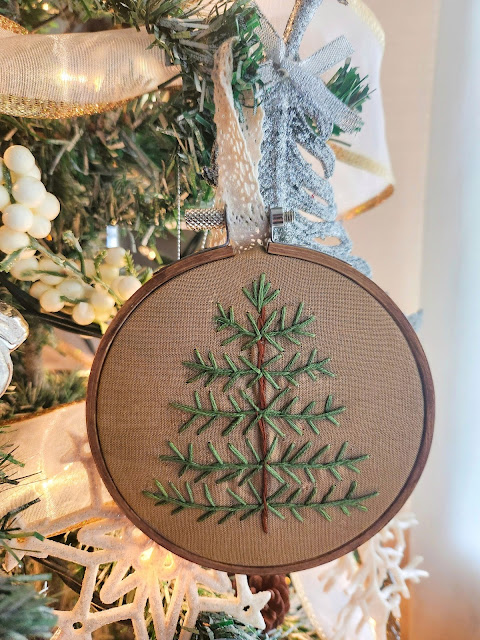
DIY Embroidered Christmas Ornaments

Are you looking for a unique gift idea or new, adorable ornaments to hang on your tree this year?   I have the answer—embroidered ornaments!...

Click To Download

Click To Download
Stay focused and organized throughout the day with a daily planner to help you stay on track with your daily tasks. There are 3 different styles to choose from.

Follow Us

  • instagram
  • pinterest
  • youtube
  • tik tok

Created with by ThemeXpose | Distributed by Blogger Templates