• Home
  • Beauty
    • ALL BEAUTY
    • SKIN CARE
    • HAIR CARE
    • BODY CARE
    • NAIL CARE
    • BEAUTY TIPS
  • FASHION
    • ALL FASHION
    • DIY STYLE
    • DIY ACCESSORIES
  • Eco-friendly
    • ALL ECO
    • ZEROWASTE HOME
    • ZEROWASTE BEAUTY
    • UPCYCLE STLYE
  • Decor
    • ALL DECOR
    • DIY DECOR
    • WALL ART
    • UPCYCLE DECOR
    • CRAFTS
    • DIY FESTIVE
  • SEWING
    • ALL SEW
    • SEW STYLE
    • SEW ECO
    • SEW PROJECTS
  • Holiday
    • ALL FESTIVE
    • DIY CHRISTMAS
    • DIY AUTUMN
    • DIY HALLOWEEN
    • VALENTINE'S DAY
    • GIFTS
  • Dine
  • LIFESTYLE
  • Contact
  • Collaborate
  • Subscribe
  • POLICY
Powered by Blogger.

Opal Crown

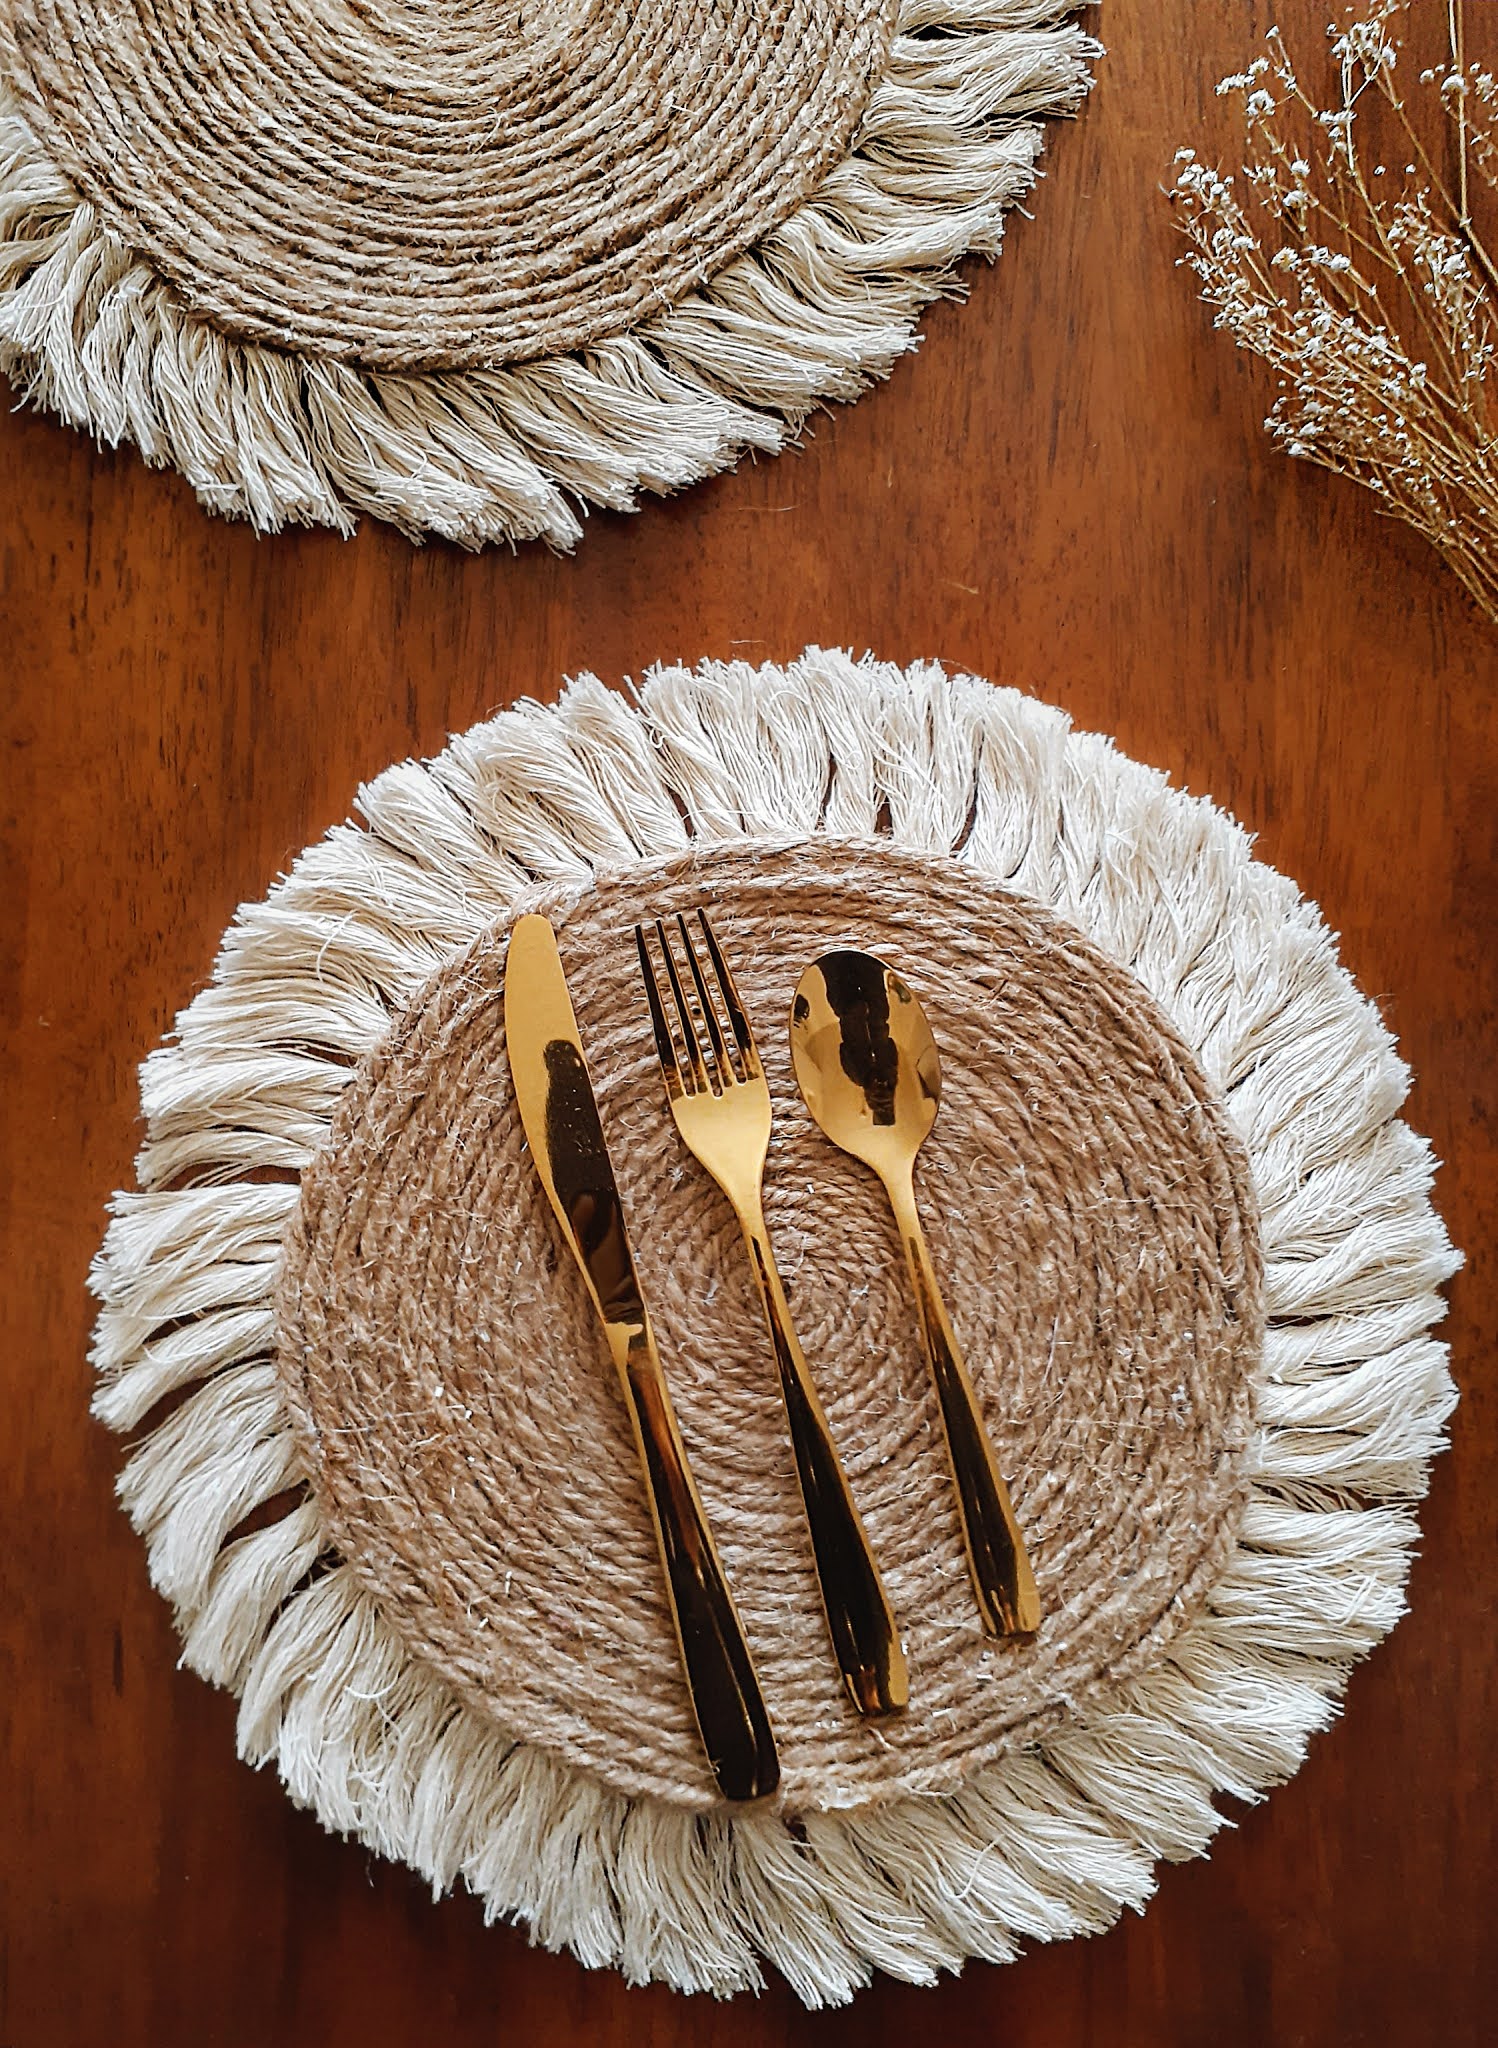
Hello friends, I'm excited to share with you all a fun DIY project using jute and nautical rope to make a beautiful bohemian placemat. If you guys didn't know, I've been giving my rental kitchen a makeover for a little while now. I recently upcycled a wooden dining table and added a few wall decor pieces. To finish the makeover, I wanted plate chargers that suited the new aesthetic of the kitchen. I found the perfect placemats on Anthropologie, but the price, however, was a bit pricey for my liking. I figured I could try making it myself for a fraction of the cost. 

Disclosure: This post may contain affiliate links, which means that if you decide to make a purchase through my links, I will receive a commission at no additional cost to you. For additional information, please see my disclosure.


MATERIALS:

  • Jute rope
  • Cotton nautical rope
  • Hot glue gun
  • Scissors 


DIRECTIONS:

1.) Start by cutting 2 pieces of cardboard or fabric the size you want your placemats to be. 

2.) Add glue to the end of the rope and begin wrapping it tightly into a circle. Glue the bottom of it to the center of your cardboard. 


3.) Continue wrapping the rest of the rope tightly until you reach the desired size.

4.) For the fringe, I unraveled the nautical rope from the dollar tree into three sections. 


5.) I cut the rope into 3-inch pieces. I gathered the chunk and glued it to the back of the placemat.


6.) I repeated the same steps going around the entire placemat. 


7.) I brushed the fringe with a comb and trimmed the ends for an even look.


7.) For extra sturdiness and a cleaner look, I glued the second piece of cardboard that I cut in step one to the back of the placemat.


Share
Tweet
Pin
Share
No comments
Older Posts

About me


Hi there! My name is Stefany. I am the writer and creator of Opal Crown. a crafty blog that covers DIY projects, beauty, fashion, decor, lifestyle, sustainability, and much more.

Subscribe For Weekly Updates

* indicates required

Popular Posts

  • DIY Flaxseed Mask For Hair Growth
  • DIY Beaded Phone Charm
  • Fringed Tassel Earrings
  • How to make rice water for hair growth
  • DIY Rose Petal Body Scrub
  • Thrifted Scalloped Glass Bowl Makeover
  • DIY Bandana Halter Top
  • DIY HAIR & SCALP DETOX MASK (+ How to use it)

Featured Post

DIY Embroidered Christmas Ornaments

Are you looking for a unique gift idea or new, adorable ornaments to hang on your tree this year?   I have the answer—embroidered ornaments!...

Click To Download

Click To Download
Stay focused and organized throughout the day with a daily planner to help you stay on track with your daily tasks. There are 3 different styles to choose from.

Follow Us

  • instagram
  • pinterest
  • youtube
  • tik tok

Created with by ThemeXpose | Distributed by Blogger Templates