• Home
  • Beauty
    • ALL BEAUTY
    • SKIN CARE
    • HAIR CARE
    • BODY CARE
    • NAIL CARE
    • BEAUTY TIPS
  • FASHION
    • ALL FASHION
    • DIY STYLE
    • DIY ACCESSORIES
  • Eco-friendly
    • ALL ECO
    • ZEROWASTE HOME
    • ZEROWASTE BEAUTY
    • UPCYCLE STLYE
  • Decor
    • ALL DECOR
    • DIY DECOR
    • WALL ART
    • UPCYCLE DECOR
    • CRAFTS
    • DIY FESTIVE
  • SEWING
    • ALL SEW
    • SEW STYLE
    • SEW ECO
    • SEW PROJECTS
  • Holiday
    • ALL FESTIVE
    • DIY CHRISTMAS
    • DIY AUTUMN
    • DIY HALLOWEEN
    • VALENTINE'S DAY
    • GIFTS
  • Dine
  • LIFESTYLE
  • Contact
  • Collaborate
  • Subscribe
  • POLICY
Powered by Blogger.

Opal Crown

These decorative seashell candles have been my fav little project I've made this year. It cost little to no money to make and looks beautiful displayed. I'm a candle fanatic, so when I saw these seashell candles on tik tok, I knew I had to make them. Using seashells as candleholders is a fun and unique way of displaying your candles. I've had a bag of seashells that I purchased years ago and never got the opportunity to use them until now. You can also purchase a bag of seashells at the dollar tree. Better yet, if you live near the beach, you can definitely look for some there. Learn how easy it is to make these beautiful seashell candles in less than 20 minutes.


Disclosure: This post may contain affiliate links, which means that if you decide to make a purchase through my links, I will receive a commission at no additional cost to you. For additional information, please see my disclosure

MATERIALS NEEDED:

  • Seashell
  • Tealight Candles
  • Gold Acrylic Paint


DIRECTIONS:

1.) Gather a bunch of tealights and pop out the candle wax from the metal tins. 


2.) Remove the wick from the candles.


3.) Add a dap of glue to the bottom of the wick and place it in the center of the seashells.


4.) Paint the edges of the shells gold.


5.) Melt the candle wax over low heat.


6.) Carefully pour the melted wax into each seashell.

7.) Allow the wax to harden.


8.) Once the wax has cooled, you can light your candles! 


Share
Tweet
Pin
Share
No comments
Older Posts

About me


Hi there! My name is Stefany. I am the writer and creator of Opal Crown. a crafty blog that covers DIY projects, beauty, fashion, decor, lifestyle, sustainability, and much more.

Subscribe For Weekly Updates

* indicates required

Popular Posts

  • DIY Beaded Phone Charm
  • Fringed Tassel Earrings
  • DIY Flaxseed Mask For Hair Growth
  • DIY ROPE PLACEMATS WITH FRINGE
  • Thrifted Scalloped Glass Bowl Makeover
  • DIY Aloe Vera Mask For Glowing Skin
  • DIY HAIR & SCALP DETOX MASK (+ How to use it)
  • How to make rice water for hair growth

Featured Post

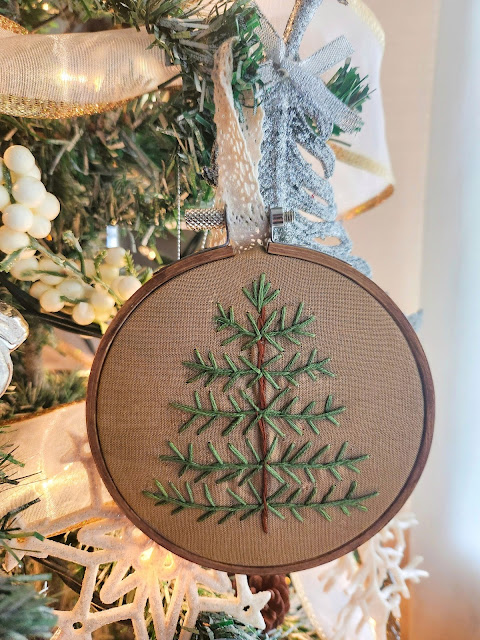
DIY Embroidered Christmas Ornaments

Are you looking for a unique gift idea or new, adorable ornaments to hang on your tree this year?   I have the answer—embroidered ornaments!...

Click To Download

Click To Download
Stay focused and organized throughout the day with a daily planner to help you stay on track with your daily tasks. There are 3 different styles to choose from.

Follow Us

  • instagram
  • pinterest
  • youtube
  • tik tok

Created with by ThemeXpose | Distributed by Blogger Templates