• Home
  • Beauty
    • ALL BEAUTY
    • SKIN CARE
    • HAIR CARE
    • BODY CARE
    • NAIL CARE
    • BEAUTY TIPS
  • FASHION
    • ALL FASHION
    • DIY STYLE
    • DIY ACCESSORIES
  • Eco-friendly
    • ALL ECO
    • ZEROWASTE HOME
    • ZEROWASTE BEAUTY
    • UPCYCLE STLYE
  • Decor
    • ALL DECOR
    • DIY DECOR
    • WALL ART
    • UPCYCLE DECOR
    • CRAFTS
    • DIY FESTIVE
  • SEWING
    • ALL SEW
    • SEW STYLE
    • SEW ECO
    • SEW PROJECTS
  • Holiday
    • ALL FESTIVE
    • DIY CHRISTMAS
    • DIY AUTUMN
    • DIY HALLOWEEN
    • VALENTINE'S DAY
    • GIFTS
  • Dine
  • LIFESTYLE
  • Contact
  • Collaborate
  • Subscribe
  • POLICY
Powered by Blogger.

Opal Crown


 Every time the weather changes, my hair does too, it has a mind of its own, and the only way to tame my frizzy locks is by braiding it or by using heat. Since I don't use hot tools unless I really need to, I don't usually buy heat protectants. Last week, I finished a bottle I purchased over a year ago, so I thought it would be a good idea to try to recreate my own version of a heat protectant using ingredients I have at home.


 DO HEAT PROTECTANTS WORK?

When you style your hair with a blow dryer, curling wand, or flat iron, it causes breakage and split ends. That's why it's important to apply a heat protectant before using heat on your hair. When you use a heat protectant, it creates a protective barrier on the hair, which helps minimize the amount of damage caused by styling tools.


ARGAN OIL: Argan oil contains essential fatty acids, antioxidants, and is rich in vitamin E, which helps moisturize the hair, reduces split ends, and breakage. Argan oil keeps the scalp healthy, strengthens hair follicles, and promotes hair growth. It protects the hair against heat damage caused by styling tools and from free radicals.


ALMOND OIL: Just like argan oil, almond oil contains high amounts of vitamin E, essential fatty acids, and antioxidants. Almond oil nourishes the hair, making it look softer and shinier. It also promotes hair growth, reduces scalp inflammation, and split ends.


CONDITIONER: Conditioners are meant to improve the feel and appearance of our hair. It makes the hair softer and easier to manage. Pick any conditioner you'd like, I'm using one I already have at home.


INGREDIENTS:

  • 1 tsp Argan Oil
  • 1 tsp Almond Oil
  • 1 tbsp Conditioner
  • 1 cup distilled water


DIRECTIONS:

  1. In a spray bottle, add 1 cup of water, conditioner, argan oil, and almond oil.
  2. Shake the bottle well to combine all of the ingredients.

HOW TO USE THE HEAT PROTECTANT.

To use, lightly spray the heat protectant on towel-dried hair before blow-drying or before using any styling tools. 

Shake the bottle well before using it.


Share
Tweet
Pin
Share
No comments


I'm the kind of gal that doesn't wash her hair every day because it's naturally dry. Besides, washing your hair less often is actually healthier. I usually go a week without washing my hair. Of course, throughout the week, my hair does get oily, and my go-to "hair product" is cornstarch. Yup, I'm serious, this thing works miracles, and is way better than any dry shampoo I've ever used. It's been almost 2 years since I made the switch, and I have zero regrets. Not only is cornstarch more affordable, but it's also natural, which means it's free of chemicals. To make this dry shampoo, you only need 2 ingredients or 3 if you want to add a scent to the recipe, so let's get started...


INGREDIENTS:


*FOR DARKER HAIR*

  • 2 tbsp of cornstarch ( you can substitute the cornstarch with rice powder or arrowroot powder)
  • 2 tbsp of cocoa powder 
  • optional 3-5 drops of essential oils

*FOR LIGHTER HAIR*

  • 3 tbsp cornstarch
  • 1 tbsp of cocoa powder ( adjust the recipe depending on your hair color)
  • optional 3-5 drops of essential oil


*Double the recipe depending on the size of your container *

DIRECTIONS:

1.) To make the dry shampoo, add cornstarch, cocoa powder, and essential oil in a clean container and mix everything well to combine.


2.) Apply the dry shampoo with a makeup brush to the roots and massage the product with your fingertips.


3.) Afterward, style your hair as you normally would, and you are all done!


Share
Tweet
Pin
Share
1 comments
Older Posts

About me


Hi there! My name is Stefany. I am the writer and creator of Opal Crown. a crafty blog that covers DIY projects, beauty, fashion, decor, lifestyle, sustainability, and much more.

Subscribe For Weekly Updates

* indicates required

Popular Posts

  • Fringed Tassel Earrings
  • DIY HAIR & SCALP DETOX MASK (+ How to use it)
  • DIY ROPE PLACEMATS WITH FRINGE
  • DIY Flaxseed Mask For Hair Growth
  • DIY Beaded Phone Charm
  • DIY Aloe Vera Mask For Glowing Skin
  • How to make rice water for hair growth
  • DIY Rose Petal Body Scrub

Featured Post

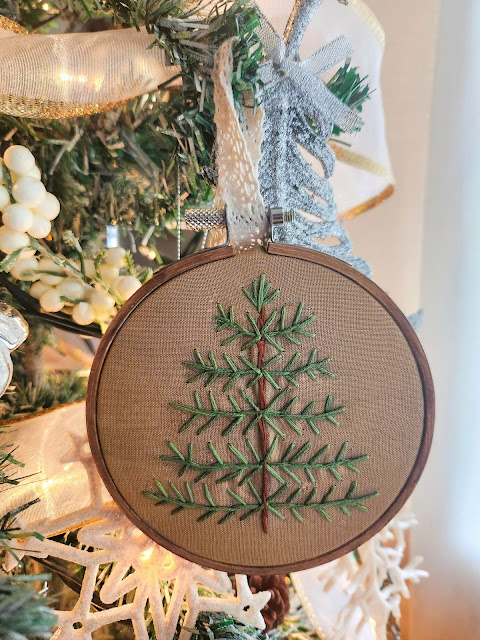
DIY Embroidered Christmas Ornaments

Are you looking for a unique gift idea or new, adorable ornaments to hang on your tree this year?   I have the answer—embroidered ornaments!...

Click To Download

Click To Download
Stay focused and organized throughout the day with a daily planner to help you stay on track with your daily tasks. There are 3 different styles to choose from.

Follow Us

  • instagram
  • pinterest
  • youtube
  • tik tok

Created with by ThemeXpose | Distributed by Blogger Templates