• Home
  • Beauty
    • ALL BEAUTY
    • SKIN CARE
    • HAIR CARE
    • BODY CARE
    • NAIL CARE
    • BEAUTY TIPS
  • FASHION
    • ALL FASHION
    • DIY STYLE
    • DIY ACCESSORIES
  • Eco-friendly
    • ALL ECO
    • ZEROWASTE HOME
    • ZEROWASTE BEAUTY
    • UPCYCLE STLYE
  • Decor
    • ALL DECOR
    • DIY DECOR
    • WALL ART
    • UPCYCLE DECOR
    • CRAFTS
    • DIY FESTIVE
  • SEWING
    • ALL SEW
    • SEW STYLE
    • SEW ECO
    • SEW PROJECTS
  • Holiday
    • ALL FESTIVE
    • DIY CHRISTMAS
    • DIY AUTUMN
    • DIY HALLOWEEN
    • VALENTINE'S DAY
    • GIFTS
  • Dine
  • LIFESTYLE
  • Contact
  • Collaborate
  • Subscribe
  • POLICY
Powered by Blogger.

Opal Crown


Last weekend, I went to the craft section at Walmart to buy some paint and a couple of other stuff I needed, when I stumbled upon some bandanas. I knew instantly what I needed them for and immediately grabbed a few. Once an idea pops in my head, there's no going back, I need to just go for it and do it. Halter tops are one of my favorite tops to wear during the summertime, so when I saw the bandana, the first thing that crossed my mind was to make my own. Several online stores already sell bandana tops but are usually priced anywhere between 20-40 dollars. The bandana itself cost me 1 dollar and it took me less than 10 minutes to make.


MATERIALS NEEDED:
  • 1 Bandana
  • 2 Strings
  • Needle & Thread
  • Scissors


DIRECTIONS:

1.) Start by folding the bandana in half to form a triangle.


2.) Fold over the top part and sew straight across.


3.) Fold over the two bottom sides of the bandana and sew.


4.) To create the neckline, insert one of the strings through the tunnel of the top.


5.) Repeat the same step on the bottom to be able to tie it from the back.


ALL DONE!

Share
Tweet
Pin
Share
2 comments

Something I've wanted for quite some time now is a travel utensil holder. I don't go out much, but when I do, I'm out for most of the day.  I always carry with me a reusable water bottle, but for some darn reason, I always forget to pack my utensils! It happens more often than I would like to admit, and of course, I always feel guilty about it. That's why I finally decided to make my own cutlery wrap. I couldn't wait to share with you guys how I made it without using a sewing machine (of course, to save yourself some time, you should definitely use one.) But if you're like me and still don't know how to properly use a sewing machine, then this tutorial is just for you! It was really simple to make, so let's get started, shall we?


SUPPLIES NEEDED:


  • The fabric of choice ( I used two patterns)
  • Needle & Thread
  • Pins
  • Scissors 
  • Ruler
  • Chalk
  • Ribbon/String
INSTRUCTIONS:

1.) Start by cutting the fabrics into two rectangular shapes (approximately 10 inches x 14 inches.) Make sure to cut the fabric taller than the tallest utensil. 

Use two different kinds of patterns if you want the outside of your wrap to be different.


2.) Then pin the fabrics together with the right sides facing each other.


3.) Stitch 3 sides of the fabric together, make sure to leave a half-inch seam allowance between the edge.

 Leave one side of the cutlery wrap open.


4.) When you are done sewing, turn the fabric inside out. Fold the edges of the opening in, and sew in place.


5.) To create the pocket, measure a piece of fabric ( 6inches x 10 inches.) 


6.) Fold the edges over and hem the top side only.


7.) Pin the pocket to the cutlery wrap. Then, sew the sides and the bottom of the fabrics together.


8.) Use a ruler and chalk to mark even lines on the pocket.


9.) Then, stitch straight down the lines to create individual pockets.


10.) Finally, wrap it using a piece of lace or string.

Did you enjoy today's post? Let me know in the comments down below what other things you would like me to DIY next? See you next time, guys!


Share
Tweet
Pin
Share
No comments

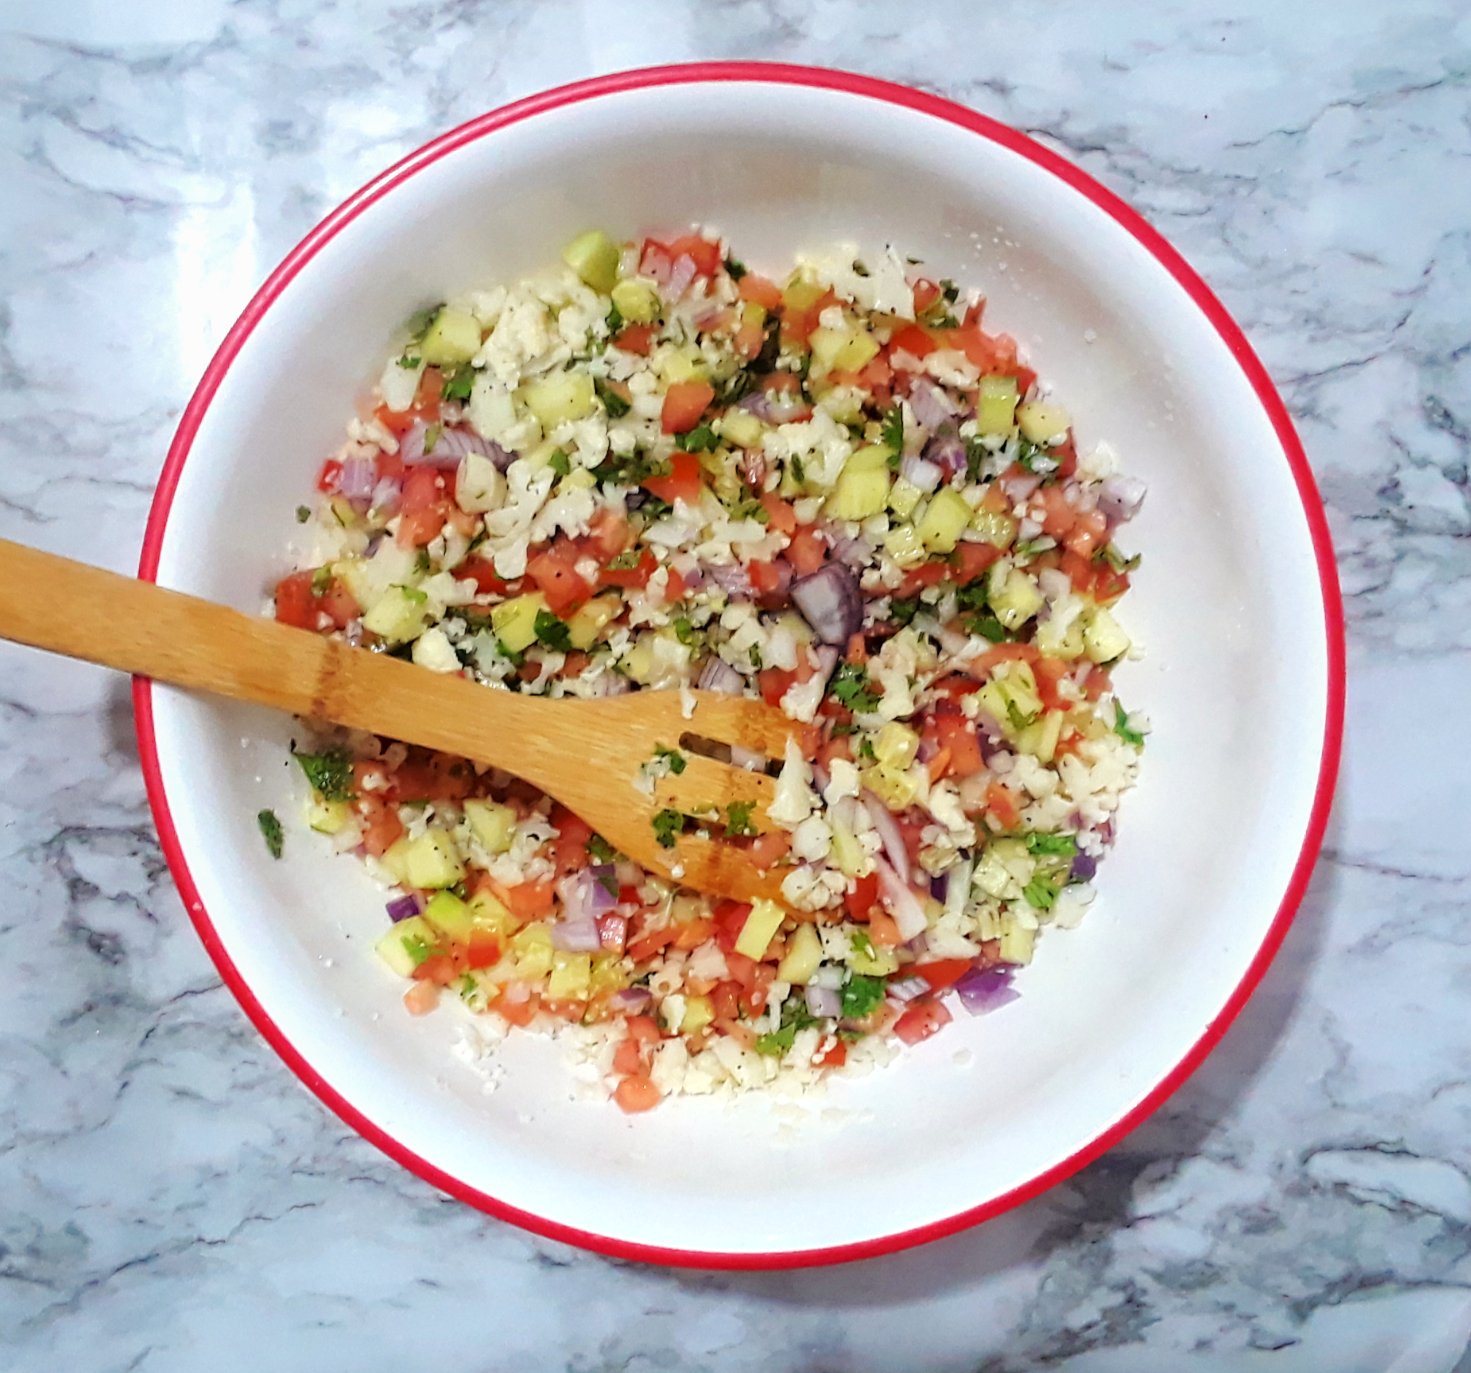
Every year for summer, my parents love to make ceviche for family gatherings. Ceviche is one of my favorite dishes I couldn't wait to eat every year, but after becoming vegetarian 3 years ago, I never got the opportunity to eat it again. Until I went to a vegan restaurant in Mexico last year, and order it. I loved it so much, I couldn't wait to recreate it back home. When I shared this delicious dish with my family, I never actually told them it was vegan ceviche, and to my surprise, no one noticed the difference. In fact, they were all shocked to know that I used cauliflower instead of fish. If you want that "fishy" taste, adding seaweed to this recipe will do the trick. Just like that, ceviche became my staple dish for summer again. I love this version of ceviche way more than the original one. I hope you decide to give this recipe a try and love it as much as I do!


DISCLOSURE: This post may contain affiliate links, meaning I get a commission if you decided to make a purchase through my links, at no cost to YOU. Please read my disclosure for more information. 


INGREDIENTS:

  •  1 head cauliflower chopped in large pieces
  • 2 tomatoes diced
  •  1 cucumber diced
  •  1/2 red onion chopped thinly
  •  1 jalapeno or Serrano minced
  •  1 cilantro minced
  •  tostadas or tortilla chips
  •  2 sliced avocados
  •  1/2 cup of fresh lemon or lime juice
  •  Salt and pepper to taste
  •  2 tbsp seaweed finely chopped (optional)


INSTRUCTIONS:

1.) Bring a pot of water to a boil, add the large pieces of cauliflower, and cook until soft.

2.) Drain the water, and allow the cauliflower to cool. Then, chop the cauliflower into tiny pieces.


3.) In a large bowl, add the diced tomatoes, cucumbers, onions, jalapeno, cilantro, and cauliflower. Mix everything well to combine.


4.) Add the lemon juice, salt, pepper, and seaweed. Mix everything well and place inside the refrigerator for one hour or until ready to allow the ceviche to marinate.


5.) Lastly, serve with tostadas or tortilla chips and garnish with sliced avocados.


Share
Tweet
Pin
Share
No comments
Older Posts

About me


Hi there! My name is Stefany. I am the writer and creator of Opal Crown. a crafty blog that covers DIY projects, beauty, fashion, decor, lifestyle, sustainability, and much more.

Subscribe For Weekly Updates

* indicates required

Popular Posts

  • DIY Beaded Phone Charm
  • Fringed Tassel Earrings
  • DIY Flaxseed Mask For Hair Growth
  • DIY ROPE PLACEMATS WITH FRINGE
  • Thrifted Scalloped Glass Bowl Makeover
  • DIY Aloe Vera Mask For Glowing Skin
  • DIY HAIR & SCALP DETOX MASK (+ How to use it)
  • How to make rice water for hair growth

Featured Post

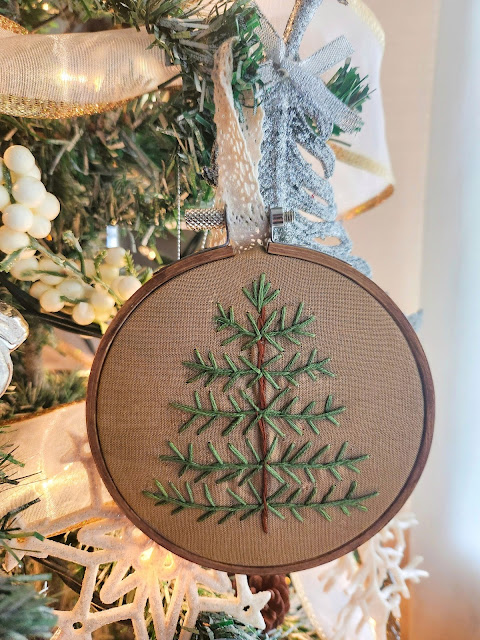
DIY Embroidered Christmas Ornaments

Are you looking for a unique gift idea or new, adorable ornaments to hang on your tree this year?   I have the answer—embroidered ornaments!...

Click To Download

Click To Download
Stay focused and organized throughout the day with a daily planner to help you stay on track with your daily tasks. There are 3 different styles to choose from.

Follow Us

  • instagram
  • pinterest
  • youtube
  • tik tok

Created with by ThemeXpose | Distributed by Blogger Templates