• Home
  • Beauty
    • ALL BEAUTY
    • SKIN CARE
    • HAIR CARE
    • BODY CARE
    • NAIL CARE
    • BEAUTY TIPS
  • FASHION
    • ALL FASHION
    • DIY STYLE
    • DIY ACCESSORIES
  • Eco-friendly
    • ALL ECO
    • ZEROWASTE HOME
    • ZEROWASTE BEAUTY
    • UPCYCLE STLYE
  • Decor
    • ALL DECOR
    • DIY DECOR
    • WALL ART
    • UPCYCLE DECOR
    • CRAFTS
    • DIY FESTIVE
  • SEWING
    • ALL SEW
    • SEW STYLE
    • SEW ECO
    • SEW PROJECTS
  • Holiday
    • ALL FESTIVE
    • DIY CHRISTMAS
    • DIY AUTUMN
    • DIY HALLOWEEN
    • VALENTINE'S DAY
    • GIFTS
  • Dine
  • LIFESTYLE
  • Contact
  • Collaborate
  • Subscribe
  • POLICY
Powered by Blogger.

Opal Crown

HOW I DYED MY MOM'S HAIR BLUE AT HOME


My mom has never experimented with fantasy colors before and has always wanted to dye her hair a bright color. Inspired by my colorful strands (which I dyed impulsively a few months ago,) she finally decided it was time for a new look and dyed it blue. Let me tell you, she went all in (unlike me) and dyed her entire head that color. It turned out amazing she looks completely different and totally rocks that style. The process was easier than we thought, and we wanted to share this experience with you guys.


Before you start, experts recommend bleaching your hair when it's dirty. Working with oily hair can actually be healthier for your hair, as the oil helps protect the scalp against the chemicals from the bleach. Wash your hair 1-2 days before bleaching, and avoid using any products on the hair.

If you're working with dark hair or hair that has been dyed before, you will have to bleach your hair several times until you achieve the results you want. Space out the number of times you bleach your hair to avoid further damage.

Since my mom chopped off most of her hair before bleaching and didn't dye it, we were working with virgin hair. Which was easier to bleach because virgin hair lifts faster. 


SUPPLIES NEEDED:
  • Bleach
  • Developer
  • Gloves
  • Toner
  • Color Brush
  • Semi-permanent Hair dye

DIRECTIONS:

1.) *Before bleaching, my mom deep conditioned her hair for 2 weeks to build up the strength of her hair. She didn't wash her hair for 2 days and didn't apply any hair products to her hair.* 

If you have long hair, section your hair into four quadrants to apply the product evenly. Since my mom has really short hair, we skipped this step.


2.) In a nonmetallic bowl, add 2 parts developer, 1 part bleach, and mix well to combine.


3.) Apply the bleach solution 1 inch away from the roots and then work your way down the hair section. Make sure to fully saturate the hair with the mixture to ensure an even application. It's important to skip the roots, as they process faster than the rest of the hair. Wait 20 minutes and then go back and apply the solution to the roots.


4.) Cover the hair in a plastic cap and allow the hair to process for 15-25 minutes or according to the directions of the products you are using. Never leave the bleach on the hair longer than 45 minutes. Check your hair every 10 minutes throughout the process.


5.) Once the time is up, wash your hair with shampoo. Follow up with a toner to get rid of any yellow or orange pigments.


6.) Apply vaseline on the hairline, neck, and ears to avoid staining your skin.


7.) Now for the fun part! Apply the desired fantasy color onto dry hair and wait 30-45 minutes before rinsing it out.


Share
Tweet
Pin
Share
No comments
Older Posts

About me


Hi there! My name is Stefany. I am the writer and creator of Opal Crown. a crafty blog that covers DIY projects, beauty, fashion, decor, lifestyle, sustainability, and much more.

Subscribe For Weekly Updates

* indicates required

Popular Posts

  • Fringed Tassel Earrings
  • How to make rice water for hair growth
  • DIY Flaxseed Mask For Hair Growth
  • DIY HAIR & SCALP DETOX MASK (+ How to use it)
  • DIY Rose Petal Body Scrub
  • DIY Beaded Phone Charm
  • DIY ROPE PLACEMATS WITH FRINGE
  • DIY Bandana Halter Top

Featured Post

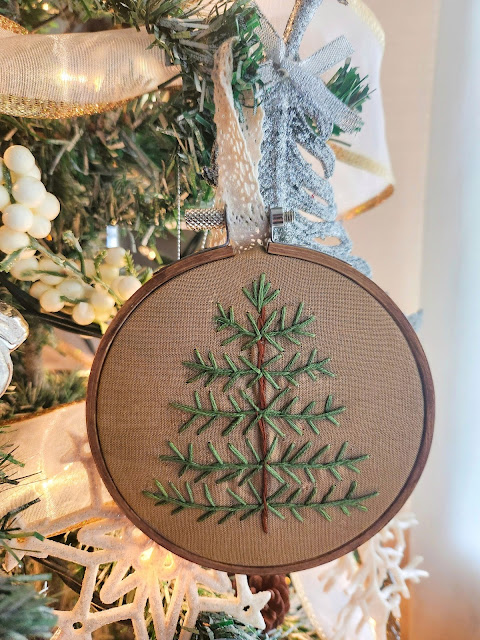
DIY Embroidered Christmas Ornaments

Are you looking for a unique gift idea or new, adorable ornaments to hang on your tree this year?   I have the answer—embroidered ornaments!...

Click To Download

Click To Download
Stay focused and organized throughout the day with a daily planner to help you stay on track with your daily tasks. There are 3 different styles to choose from.

Follow Us

  • instagram
  • pinterest
  • youtube
  • tik tok

Created with by ThemeXpose | Distributed by Blogger Templates