• Home
  • Beauty
    • ALL BEAUTY
    • SKIN CARE
    • HAIR CARE
    • BODY CARE
    • NAIL CARE
    • BEAUTY TIPS
  • FASHION
    • ALL FASHION
    • DIY STYLE
    • DIY ACCESSORIES
  • Eco-friendly
    • ALL ECO
    • ZEROWASTE HOME
    • ZEROWASTE BEAUTY
    • UPCYCLE STLYE
  • Decor
    • ALL DECOR
    • DIY DECOR
    • WALL ART
    • UPCYCLE DECOR
    • CRAFTS
    • DIY FESTIVE
  • SEWING
    • ALL SEW
    • SEW STYLE
    • SEW ECO
    • SEW PROJECTS
  • Holiday
    • ALL FESTIVE
    • DIY CHRISTMAS
    • DIY AUTUMN
    • DIY HALLOWEEN
    • VALENTINE'S DAY
    • GIFTS
  • Dine
  • LIFESTYLE
  • Contact
  • Collaborate
  • Subscribe
  • POLICY
Powered by Blogger.

Opal Crown


 If there's something I enjoy doing, is customizing my clothes. Even though my sewing skills aren't the best, that never stops me from transforming any piece of garment I choose to work on. That's why I like to tie-dye because you can change the way your clothes look with minimal effort. All you need for this project is fabric dye, a 100% cotton t-shirt, a pair of gloves, and a couple of rubber bands. I loved how each piece of clothing turned out unique. I couldn't wait to share with you guys how easy it was to make.


MATERIALS USED:

  • Plain tee 100% cotton
  • Tie-dye Kit
  •  Rubber bands
  • Plastic bag


DIRECTIONS:

Style#1

1.) Dampen the garment to allow the dye to blend better.

2.) For this particular shirt, I will be using the "swirl" method, but you can do any style you'd prefer.

Pinch the center of the shirt and gently twist the shirt over multiple times until you form a swirl.


3.) Use rubber bands to hold the fabric in place.

4.) Prepare the dye according to the instructions and begin to tie-dye.

*Make sure to use gloves for this part, as it can get really messy*


5.) Flip the shirt over and add more dye.

6.) Place the shirt in a bag and wait according to the instructions of the tie-dye kit.

(I waited 8 hours)

7.) Once the dye has set, remove the rubber bands and rinse in hot water until the water runs clear.

8.) Wash and dry the shirt.


Style #2

1.) For the tank top,  scrunch the bottom of the shirt and continue to do so until you reach the top.

2.) Use rubber bands to hold the top in place.

3.) Cover the entire top with the tie-dye.

4.) Placed it in a plastic bag for 8-10 hours and wash it afterward.


RELATED POSTS:
  • DIY BLEACH TIE DYE
  • DIY LACE BRALETTE
  • DIY SCRUNCHIE
  • DIY SCARF SCRUNCHIE
Share
Tweet
Pin
Share
No comments
Older Posts

About me


Hi there! My name is Stefany. I am the writer and creator of Opal Crown. a crafty blog that covers DIY projects, beauty, fashion, decor, lifestyle, sustainability, and much more.

Subscribe For Weekly Updates

* indicates required

Popular Posts

  • Fringed Tassel Earrings
  • DIY Beaded Phone Charm
  • How to make rice water for hair growth
  • DIY Flaxseed Mask For Hair Growth
  • DIY Rose Petal Body Scrub
  • DIY ROPE PLACEMATS WITH FRINGE
  • DIY HAIR & SCALP DETOX MASK (+ How to use it)
  • DIY Aloe Vera Mask For Glowing Skin

Featured Post

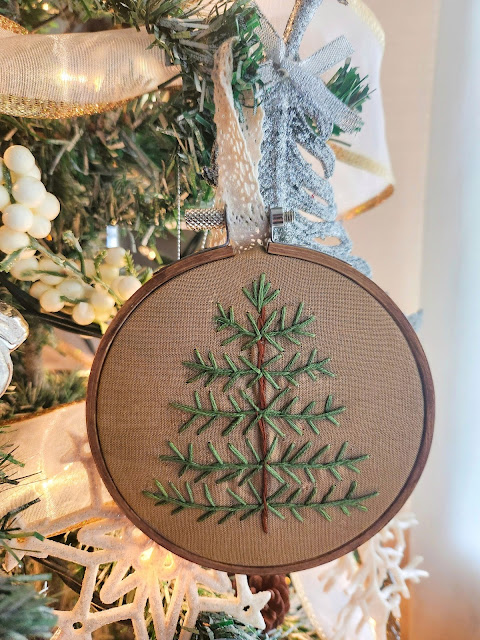
DIY Embroidered Christmas Ornaments

Are you looking for a unique gift idea or new, adorable ornaments to hang on your tree this year?   I have the answer—embroidered ornaments!...

Click To Download

Click To Download
Stay focused and organized throughout the day with a daily planner to help you stay on track with your daily tasks. There are 3 different styles to choose from.

Follow Us

  • instagram
  • pinterest
  • youtube
  • tik tok

Created with by ThemeXpose | Distributed by Blogger Templates