• Home
  • Beauty
    • ALL BEAUTY
    • SKIN CARE
    • HAIR CARE
    • BODY CARE
    • NAIL CARE
    • BEAUTY TIPS
  • FASHION
    • ALL FASHION
    • DIY STYLE
    • DIY ACCESSORIES
  • Eco-friendly
    • ALL ECO
    • ZEROWASTE HOME
    • ZEROWASTE BEAUTY
    • UPCYCLE STLYE
  • Decor
    • ALL DECOR
    • DIY DECOR
    • WALL ART
    • UPCYCLE DECOR
    • CRAFTS
    • DIY FESTIVE
  • SEWING
    • ALL SEW
    • SEW STYLE
    • SEW ECO
    • SEW PROJECTS
  • Holiday
    • ALL FESTIVE
    • DIY CHRISTMAS
    • DIY AUTUMN
    • DIY HALLOWEEN
    • VALENTINE'S DAY
    • GIFTS
  • Dine
  • LIFESTYLE
  • Contact
  • Collaborate
  • Subscribe
  • POLICY
Powered by Blogger.

Opal Crown

  My style of decor has definitely changed over the past couple of years. I went from glamorous/chic home to a bohemian design. I love styling my place with earthy elements such as handmade decorative items, loads of plants, and of course, minimal wall decor. This brings me to today's project. I was looking at modern wall art designs on Etsy for inspiration. I found so many great ideas that I had difficulty choosing which style I wanted to recreate. The art design that caught my eye the most was a botanical abstract painting. It was exactly what I had in mind. I couldn't wait to share with you all how I did it using the reverse canvas method.


MATERIALS NEEDED:

  • Old Canvas
  • Paintbrushes 
  • Acrylic Paint 
  • Pencil
  • Hot glue gun or staple gun
  • X-Acto Knife
  • Sawtooth picture hanger


DIRECTIONS:


1.) To remove the canvas from the frame. Turn the canvas around, and carefully slice along the edges of the staples using an X-Acto knife. 


2.) Once you cut all the way around, you should be able to remove the canvas without difficulty.


3.) Remove the strip of canvas that is still stapled to the back of the frame. Don't worry about removing the staples.


4.) Flip the wood frame over, paint it or stain it using wood stain, or leave it as so.

5.) Start by creating 3 different-sized blobs. Paint each one a different color.


6.) Once the paint dries, sketch a plant or flower using a pencil.


7.) Go over the drawing with black acrylic paint.


8.) Use hot glue or a staple gun to reattach the canvas. Pull the canvas tightly to avoid any lines or wrinkles.

9.) Trim off the excessive canvas fabric.

10.) If you want to hang the canvas, simply flip it over and add a sawtooth picture hanger.


Share
Tweet
Pin
Share
No comments

Abstract canvas art is something I've always wanted for my home but was not willing to pay over 200 dollars for. After looking at several tutorials online on how to make my own. I finally decided to give it a try and discovered that painting is something I really enjoyed doing. It is very therapeutic and relaxing. It did take me around an hour to do, so put your favorite tv show on or play some music. Grab your favorite snacks, beverage, and let's get started.


DISCLOSURE: This post may contain affiliate links, meaning I get a commission if you decided to make a purchase through my links, at no cost to YOU. Please read my disclosure for more information. 

 Tools  Used:


  •  Canvas 18 inches × 24 inches 
  • Black, Gray, White, and Gold Paint
  •  Gold Flakes
  • Paintbrushes


1.) Painting.

  • Once I had an idea of what I wanted to paint, I started painting the top left corner of the canvas (to make the process less intimidating.) While the paint was still wet I went ahead and smudged over the areas I had previously painted to give the canvas an effortless look.


  • As I continued to paint, I felt more comfortable than when I first started. There is no right or wrong way of doing this, so you do what you feel like.
  • Once the black paint dried, I added gray to the canvas and repeated the same steps to add more dimension.


  • Finally, I went in with gold paint, and while it was still wet, I placed the gold flakes on top. Once it was completely dried I went over it with a clean paintbrush and brushed off the excess gold flakes. 


  • At the last moment, I added some sparkle to the canvas. This was totally optional and is not necessary to do so ( but feel free to try it out as it gave the painting more of a glam finish.) 
  • For this step, added glue to areas that I wanted to add the glitter too. I let it dry completely before removing the excessive glitter.


Hanging The Canvas.

The final step was hanging the art piece.  I made 2 smaller ones to place beside the larger canvas. Abstract art requires no painting skills, which made this project really fun to do. I hope you guys decide to give it a try!


Share
Tweet
Pin
Share
1 comments
Older Posts

About me


Hi there! My name is Stefany. I am the writer and creator of Opal Crown. a crafty blog that covers DIY projects, beauty, fashion, decor, lifestyle, sustainability, and much more.

Subscribe For Weekly Updates

* indicates required

Popular Posts

  • DIY Beaded Phone Charm
  • Fringed Tassel Earrings
  • DIY Flaxseed Mask For Hair Growth
  • DIY ROPE PLACEMATS WITH FRINGE
  • Thrifted Scalloped Glass Bowl Makeover
  • DIY Aloe Vera Mask For Glowing Skin
  • DIY HAIR & SCALP DETOX MASK (+ How to use it)
  • How to make rice water for hair growth

Featured Post

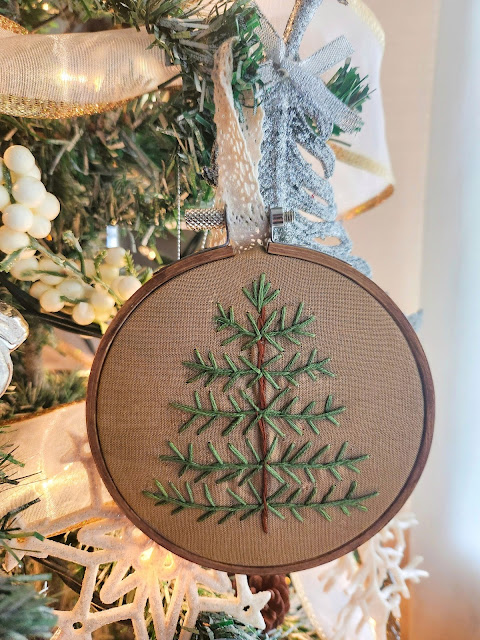
DIY Embroidered Christmas Ornaments

Are you looking for a unique gift idea or new, adorable ornaments to hang on your tree this year?   I have the answer—embroidered ornaments!...

Click To Download

Click To Download
Stay focused and organized throughout the day with a daily planner to help you stay on track with your daily tasks. There are 3 different styles to choose from.

Follow Us

  • instagram
  • pinterest
  • youtube
  • tik tok

Created with by ThemeXpose | Distributed by Blogger Templates