• Home
  • Beauty
    • ALL BEAUTY
    • SKIN CARE
    • HAIR CARE
    • BODY CARE
    • NAIL CARE
    • BEAUTY TIPS
  • FASHION
    • ALL FASHION
    • DIY STYLE
    • DIY ACCESSORIES
  • Eco-friendly
    • ALL ECO
    • ZEROWASTE HOME
    • ZEROWASTE BEAUTY
    • UPCYCLE STLYE
  • Decor
    • ALL DECOR
    • DIY DECOR
    • WALL ART
    • UPCYCLE DECOR
    • CRAFTS
    • DIY FESTIVE
  • SEWING
    • ALL SEW
    • SEW STYLE
    • SEW ECO
    • SEW PROJECTS
  • Holiday
    • ALL FESTIVE
    • DIY CHRISTMAS
    • DIY AUTUMN
    • DIY HALLOWEEN
    • VALENTINE'S DAY
    • GIFTS
  • Dine
  • LIFESTYLE
  • Contact
  • Collaborate
  • Subscribe
  • POLICY
Powered by Blogger.

Opal Crown

Last Minute Police Officer Costume For Halloween.

This year for Halloween, my son couldn't decide what he wanted to be, but at the very last moment, he made up his mind to be a police officer. Since I love DIYing I thought I would give it a shot and try making the costume myself. Not only was it less expensive to make, but it was pretty easy to put together. Some stuff we already owned, and the rest we purchased in stores. What I really liked about making our own costume, was that I got to customize the outfit to our liking, the quality of the clothes was better, and it was more comfortable to wear. Learn how to make your own down below!

SUPPLIES USED:

  • Light Blue Dress Shirt
  • Dark Pants
  • Black Hat
  • Black Shoes
  • Toy handcuffs, gun, badge, whistle, etc...


  • On a piece of cardboard, cut out the shape of 2 badges and paint them gold. Once dried, added some details with a black marker. 
  • To attach the badges to my son's dress shirt and hat. I used double-sided tape.


  • The total cost of the Halloween costume was 27 dollars. He already owned the shoes and the accessories (from dollar tree.) Everything else we shopped for at Walmart. The pants were 5 dollars, and the dress shirt was 15 dollars. The last thing we purchased was the hat, which ended up being 7 dollars, I do have to give credit to my husband for finding it at the very last moment. This DIY was so easy and fun to put together. My son loved how his costume turned out and honestly, we all did. He looks super adorable we can't wait for him to wear it tomorrow for Halloween.


I love it when he gets into character, it's super cute.


Share
Tweet
Pin
Share
No comments

I have a great craft to share with you guys today. It's my first Halloween DIY decoration of the year, it's all about these cute paper bats. They were so easy and affordable to create that anyone can make them. Including my 4 yr. old son (of course with a little help.) This DIY takes less than 30 minutes to make and is perfect for hanging anywhere inside your home. Even outdoors, just make sure to make the bats out of craft foam so they can last threw the rain. Learn how to make your own cute paper bats down below!

DISCLOSURE: This post may contain affiliate links, meaning I get a commission if you decided to make a purchase through my links, at no cost to YOU. Please read my disclosure for more information. 

SUPPLIES USED:

  •  Black Craft Paper 
  • Googly Eyes 
  • Glue 
  • Hole Punch
  • Pencil 
  • Scissors
  • String


STEP 1.)


Start by drawing a bat on a blank sheet of paper to serve a template or print one out.


STEP 2.)


Use a pencil to trace the bat shape to a black craft paper and cut it.


STEP 3.)


Glue the googly eyes on the bat's head.


  • We added a mouth and fangs, to the bat, but you can decorate your bat however you would like, just remember to have fun!


STEP 4.)


Create a hole on the bottom of the bat's body using a hole punch, to be able to hang the bat.


  • Then, place the string through the hole you just created and tie a knot to secure.


STEP 5.)


Finally, hang the bat garland anywhere you'd like inside your home, and you are all done!


Share
Tweet
Pin
Share
No comments

 HOW TO UPCYCLE OLD GLASS JARS INTO KITCHEN CANISTERS

Why waste money on brand new mason jars to store your food. When you can repurpose your emptied glass jars of marinara sauce. They work just as good, are basically free, and look pretty darn cute. I personally love using these glass jars to fill them with spices, seeds, nuts, and many more things I purchase in bulk. They're also perfect to store leftover food, fresh herbs, and homemade salsa. If you want to learn how to repurpose your empty glass jars, then keep on scrolling. 


1.) Removing Labels.


Removing the labels from these jars is pretty easy to do but the leftover residue glue, on the other hand, isn't. Luckily I just found out how to remove it. All you need is 3 simple ingredients. Grab a bucket or large pot and fill it with enough hot water to submerge your glass jars. Add a cup of vinegar and a few squirts of dish soap. Place your jars inside the pot for at least 15-30 minutes. The longer you wait the easier the glue will dissolve. Afterward, peel the rest of the label off and scrub any leftover residue with a rough sponge or brush.


2.) Adding Labels. 

Next, add labels to the glass jars. I purchased mine at my local dollar tree a few months ago, but if you can't get your hands on chalkboard labels. You can use chalk paint to make your labels instead. You also have the option of writing directly onto the jars with an oil-based marker.


3.) Painting The Lids.

Next, paint your lids using acrylic paint and a brush.


4.) Once the jar lids are dry, you can fill them with whatever you'd like, and you are all finished!


I hope you guys enjoyed today's post, and if you did please don't forget to subscribe for more content just like this one. 

RELATED POSTS:
  • Simple Eco-Friendly Kitchen Alternatives
  • How To Make Produce Bags
  • How To Store Produce Without Plastic
  • DIY Cutlery Wrap
  • Natural All-Purpose Cleaner


Share
Tweet
Pin
Share
No comments
Older Posts

About me


Hi there! My name is Stefany. I am the writer and creator of Opal Crown. a crafty blog that covers DIY projects, beauty, fashion, decor, lifestyle, sustainability, and much more.

Subscribe For Weekly Updates

* indicates required

Popular Posts

  • Fringed Tassel Earrings
  • How to make rice water for hair growth
  • DIY Flaxseed Mask For Hair Growth
  • DIY HAIR & SCALP DETOX MASK (+ How to use it)
  • DIY Rose Petal Body Scrub
  • DIY Beaded Phone Charm
  • DIY ROPE PLACEMATS WITH FRINGE
  • DIY Bandana Halter Top

Featured Post

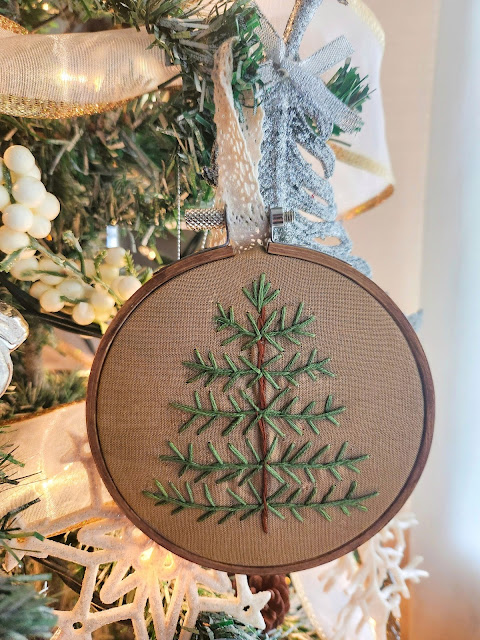
DIY Embroidered Christmas Ornaments

Are you looking for a unique gift idea or new, adorable ornaments to hang on your tree this year?   I have the answer—embroidered ornaments!...

Click To Download

Click To Download
Stay focused and organized throughout the day with a daily planner to help you stay on track with your daily tasks. There are 3 different styles to choose from.

Follow Us

  • instagram
  • pinterest
  • youtube
  • tik tok

Created with by ThemeXpose | Distributed by Blogger Templates