• Home
  • Beauty
    • ALL BEAUTY
    • SKIN CARE
    • HAIR CARE
    • BODY CARE
    • NAIL CARE
    • BEAUTY TIPS
  • FASHION
    • ALL FASHION
    • DIY STYLE
    • DIY ACCESSORIES
  • Eco-friendly
    • ALL ECO
    • ZEROWASTE HOME
    • ZEROWASTE BEAUTY
    • UPCYCLE STLYE
  • Decor
    • ALL DECOR
    • DIY DECOR
    • WALL ART
    • UPCYCLE DECOR
    • CRAFTS
    • DIY FESTIVE
  • SEWING
    • ALL SEW
    • SEW STYLE
    • SEW ECO
    • SEW PROJECTS
  • Holiday
    • ALL FESTIVE
    • DIY CHRISTMAS
    • DIY AUTUMN
    • DIY HALLOWEEN
    • VALENTINE'S DAY
    • GIFTS
  • Dine
  • LIFESTYLE
  • Contact
  • Collaborate
  • Subscribe
  • POLICY
Powered by Blogger.

Opal Crown


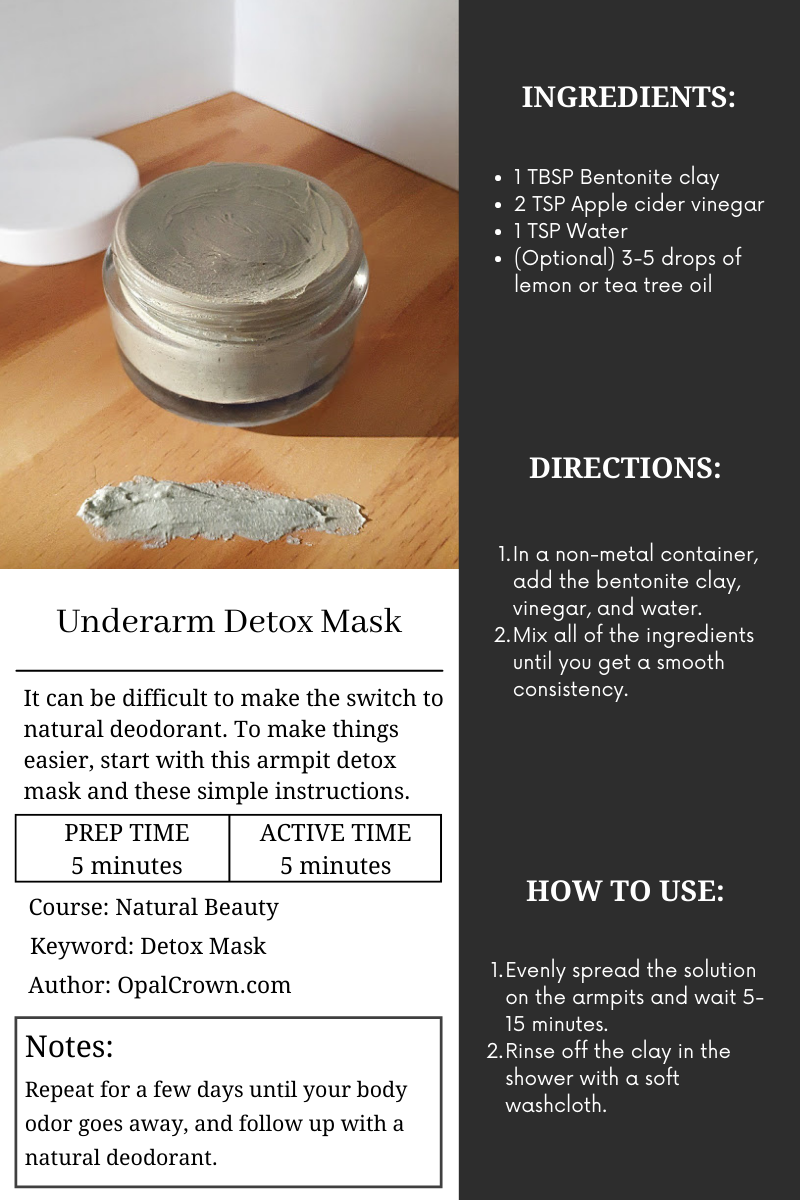
The first time I used bentonite clay was to make a detox facial mask, which I still love and use until this day. If you haven't tried it yet, I encourage you to give it a try, I promise you won't be disappointed. For the longest time, I've been wanting to use bentonite clay to make an underarm detox mask. Using a detox paste on the underarms has several benefits, as it helps the body release toxins and decreases the amount of sweat your body produces. Conventional deodorants and antiperspirants contain several chemicals and additives that do more harm than good.


Some might included...

  •  Parabens
  •  Aluminum
  •  Phthalates
  •  Propylene glycol 


Switching to natural deodorants, whether purchased or homemade, is something I recommend. Using this detox treatment when switching will make the transition easier. When I first made the switch to natural deodorants, my armpits emitted an unpleasant odor because my pores were no longer clogged. However, it's all part of the process, and it's quite natural.


To make this underarm cleanse, you only need 3 simple ingredients.

  • 1 TBSP Bentonite clay
  • 2 TSP Apple cider vinegar
  • 1 TSP Water 
  • (Optional) 3-5 drops of lemon or tea tree oil


DIRECTIONS:
  1. In a non-metal container, add the bentonite clay, vinegar, and water.
  2. Mix all of the ingredients until you get a smooth consistency.
  3. Evenly spread the solution on the armpits and wait 5-15 minutes.
  4. Rinse off the clay in the shower with a soft washcloth.
NOTE: Repeat for a few days until your body odor goes away, and follow up with a natural deodorant.


    Click To Print    


Share
Tweet
Pin
Share
No comments

If you have any old or broken lipsticks lying around your makeup bag or vanity, don't throw them away. Instead, use them to make a hydrating tinted lip balm. It's easy to create and only requires 4 ingredients. This recipe uses a mixture of beeswax, shea butter, and coconut oil to create the perfect creamy consistency. This lip balm will leave your lips soft, nourished, moisturized, and hydrated. 

 If you want to keep this recipe natural, then skip the lipstick and use natural coloring instead. Some of my favorite natural colorants to use are beetroot powder, mica powder, and Moroccan red clay.

(If you're going to use an old lipstick, check if it's expired, if so, don't use it.)


BEESWAX: Beeswax is a popular natural ingredient often used in cosmetics, especially in lip balms. It contains anti-inflammatory and anti-bacterial properties. Beeswax is rich in vitamin A and vitamin E, which help keep the lips hydrated and moisturized. It also protects the lips against the sun's UV rays.

SHEA BUTTER: Just like beeswax, shea butter is excellent for combating dry and chapped lips. It contains vitamins A, E, and F, which help keep the lips incredibly soft and moisturized. 

COCONUT OIL: Coconut oil is one of my favorite carrier oils to use, especially when I need to moisturize. Using coconut oil on cracked or chapped lips is ideal because of its healing properties. It's hydrating, moisturizing, soothing, and protects the lips from the sun's harmful rays.


INGREDIENTS:

  • 2 tbsp Beeswax
  • 2 tbsp Shea Butter
  • 2 tbsp Coconut Oil
  • Old Lip Stick or Natural coloring 
  • Essential Oils (optional)


DIRECTIONS:

1.) Heat the beeswax, shea butter, and coconut oil in a double boiler until it's fully melted. 

2.) Add the lipstick or natural coloring into the mixture, and stir until it melts.

3.)Remove from the heat, and add essential oils (if desired.) 

4.) Pour the mixture into a lip balm container.

5.) Allow the lip balm to cool until it firms.


Share
Tweet
Pin
Share
No comments

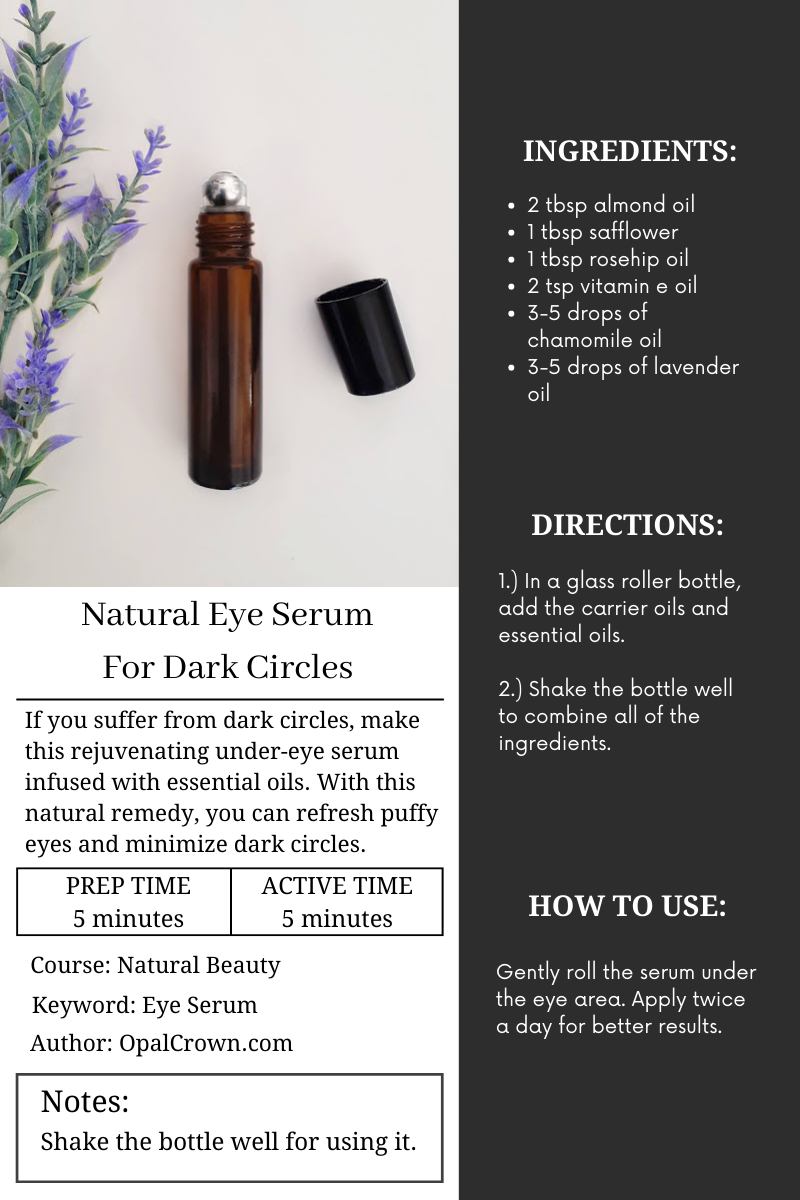
There are nights when I barely get any sleep because of my insomnia. The lack of sleep has blessed me with dark circles. Without makeup, my face looks exhausted even when I'm not, so finding a solution has been my mission for the last couple of weeks. After testing out different products and homemade remedies, I found the perfect ingredients to help combat dark under eyes. 


WHAT CAUSES DARK CIRCLES UNDER THE EYES?

There are several different reasons why you might be suffering from dark circles. The most common is lack of sleep, stress, allergies, iron deficiency, aging, dehydration, sun exposure, and genetics.


ALMOND OIL: Due to the antioxidants and anti-inflammatory properties found in almond oil, they can effectively lighten dark circles and reduce under-eye puffiness. Almond oil is rich in vitamin A, vitamin E, and fatty acids that protect the skin from the sun, it minimizes the appearance of fine lines, wrinkles, and tightens the skin. 

ROSEHIP OIL: Rosehip oil is packed with nourishing fatty acids, vitamin A, and vitamin C that help combat wrinkles, reduce hyperpigmentation, brighten the skin, and works as an excellent moisturizer.  

SAFFLOWER OIL: Safflower oil promotes healthy, bright skin by stimulating collagen production, reducing dark circles, and promoting healthy, glowing skin. The fatty acids are responsible for lightening dark spots and stimulating the production of new skin cells.

VITAMIN E OIL: Vitamin E oil is known for nourishing and moisturizing the skin, making your complexion look healthy and glowy. Vitamin E oil also reduces hyperpigmentation, treats fine lines, and wrinkles.

CHAMOMILE: Chamomile essential oil has anti-inflammatory and antidepressant properties that help combat the appearance of dark circles, puffy eyes, and help to soothe the skin.

LAVENDER OIL: Lavender oil is commonly used for treating anxiety, stress, and insomnia. It contains anti-bacterial properties that help heal and prevent acne. It reduces inflammation, stimulates blood circulation, and minimizes dark circles. Lavender oil reduces puffiness under the eyes, moisturizes, rejuvenates, and hydrates the skin.


INGREDIENTS:

  • 2 tbsp almond oil
  • 1 tbsp safflower
  • 1 tbsp rosehip oil
  • 2 tsp vitamin e oil
  • 3-5 drops of chamomile oil
  • 3-5 drops of lavender oil


DIRECTIONS:

1.) In a glass roller bottle, add the carrier oils and essential oils.

2.) Shake the bottle well to combine all of the ingredients.


HOW TO USE THE EYE SERUM?

Gently roll the serum under the eye area. Apply twice a day for better results.

Note: Shake the bottle well for using it.


    Click To Print    


Share
Tweet
Pin
Share
No comments
When I was in high school, having thin arched eyebrows was in, and like many of us did, I rocked that style of brows for several years. Unfortunately, due to over-plucking and even shaving at one point, they never grew back the same. Until I finally left them alone and started using this castor oil serum religiously every night before heading to bed. Within a few weeks, this nourishing serum made my eyelashes and brows grow back thicker and fuller. To make this miracle serum, all you need is a few ingredients and an empty mascara tube, so let's get started... 


CASTOR OIL: Castor oil can be very beneficial for your eyebrows and eyelashes, as it stimulates growth, reduces hair loss, strengthens the roots, and moisturizes.

VITAMIN E OIL: Just like castor oil, vitamin e oil works great to nourish, moisturize, and promote hair growth.

ARGAN OIL: Argan oil is rich in fatty acids, as well as vitamin E, it also stimulates hair growth, moisturizes, and hydrates.

LAVENDER OIL: Not only does lavender oil smell amazing, but it's also known for promoting strong and healthy hair.


INGREDIENTS:


  • 2 TBSP Castor Oil
  • 1 TBSP Vitamin E Oil
  • 1 TBSP Argan Oil
  • Old Mascara Tube

OPTIONAL:
  • 1 DROP Lavender Essential Oil


DIRECTIONS:

1.) In a container, combine the castor oil, vitamin E oil, and argan oil.

2.) Place the cap and shake the bottle well to mix all of the ingredients.


APPLICATION:

1.) To apply the serum, make sure you cleanse your face to remove all of your makeup.

2.) Dip the mascara wand into the serum, and delicately apply the serum to your eyebrows and eyelashes. ( Avoid getting the serum into the eyes as it could cause irritation.)

3.) Apply the serum every night before heading to bed for the best results.

Disclaimer: I am not a medical professional, so please consult your physician before use.

Share
Tweet
Pin
Share
No comments
To be honest, I don't usually wear a lot of makeup, if anything, I'll slap on a tinted lip balm, fill in my brows, and call it a day. However, on the days I do wear makeup, I love to layer my mascara to volumize my lashes. We all know how stubborn mascara can be when it comes to taking it off, it's a real pain. For years I used store-bought products to remove my makeup, but it never took it off completely. Until I made my own formula using natural ingredients. Besides, I already had all of the products I needed at home to create this makeup remover. It's gentle on the eyes, nourishing, easy to make, and works way better than any store-bought makeup remover I've ever used.


COCONUT OIL: Coconut oil on its own works great for removing my makeup, but when mixed with other ingredients, it works even better. Coconut oil reduces inflammation, moisturizes, and hydrates the skin. It possesses antioxidants such as Vitamin A and Vitamin E which slow down aging. It contains antimicrobial properties that protect the skin from bacteria and even help treat acne.


WITCH HAZEL: It's common to use witch hazel on skincare products, many people use it as a natural toner, but it also works to remove your eye makeup. Witch hazel is a natural astringent that tightens pores, helps treat acne, reduces irritation, relieves inflammation, and soothes puffy eyes.


VITAMIN E OIL: Just like witch hazel, vitamin E oil is a natural ingredient used in many homemade skincare products. The oil is known for nourishing and moisturizing the skin, it slows down aging, and treats fine lines. It fights against free radicals, helps protect the skin from sun damage, and reduces dark spots.

ALOE VERA OIL: Aloe vera doesn't only work wonders for those with an oily complexion, it also helps treat dry skin. It's hydrating, moisturizing, soothing, and calming on the skin. Making it the perfect ingredient for this natural makeup remover.


INGREDIENTS:
  • 2 TBSP Fractioned Coconut Oil (other alternatives Jojoba Oil, Almond Oil, or Olive Oil)
  • 2 TBSP Witch Hazel
  • 2 TBSP Vitamin E Oil
  • 1 TBSP Aloe Vera Oil or Vegetable Glycerin
TOOLS NEEDED:
  • Glass Container
  • Cotton Rounds


DIRECTIONS:

1.) In a glass container, combine the coconut oil, vitamin E oil, aloe vera, and witch hazel.
2.) Shake the bottle well to mix all of the ingredients together.


APPLICATIONS:

To use this natural makeup remover, apply a small amount of the solution on a clean cotton pad, and gently wipe over your eyes until the makeup comes off.


Share
Tweet
Pin
Share
No comments
Falling asleep is a bit of a challenge for me, as I find it difficult to relax. I can stay up for hours, even the entire night, until I eventually doze off. I stopped snacking late at night and even tried listening to relaxing music, but none of that worked for me. Recently I discovered a sleep spray that's supposed to help calm and relax your mind. I was intrigued, I'm not going to lie, so I did what I do best, and that's DIYing my own sleep spray to see if it actually worked, and it did. I love how amazing my pillows and blankets smell when I go to bed. I feel so relax and mellow that I eventually fall asleep.


WHAT IS A PILLOW SPRAY?

This sleep spray is a natural way of relaxing your body and mind to help you zizz off at night. It's filled with essentials oils that make it easier to calm and soothe you for a better night's sleep. You can use this spray on your sheets, pillow, and even the entire bedroom, it's totally up to you.


RECOMMENDED ESSENTIAL OILS:

  • Lavender
  • Chamomile
  • Vetiver
  • Ylang Ylang
  • Jasmine


INGREDIENTS:

  • 10-20 Drops of Essential Oils of Choice
  • 1/2 Cup of Witch Hazel or Vodka
  • 1/2 Cup of Distilled Water

TOOLS NEEDED:
  • 8oz Glass Spray Bottle
  • Funnel


DIRECTIONS:

1.) In a glass bottle, add the distilled water, witch hazel, and the essential oils.
2.) Shake the bottle well to combine all of the ingredients.


RELATED POSTS:

  • Reusable Makeup Remover Pads
  • DIY Cutlery Wrap
  • How To Make Produce Bags


Share
Tweet
Pin
Share
No comments

Natural Hair Mask For Dry, Damaged Hair


Our hair goes through so much on a daily, sun damage, heat tools, dry weather, coloring, and whatnot... It's necessary to nourish your hair and treat it weekly (if possible) by moisturizing it with a hair mask. Especially now that the weather is getting warmer, it's important to care for it and protect it from the sun's heat. My two favorite ingredients to make hair masks are coconut oil and raw honey because they keep my hair soft, shiny, and healthy. This time I added an extra ingredient to the mix, banana, and I was not disappointed. My hair is naturally dry, especially the ends of my locks, but after using this hair mask, my hair feels and looks better than it ever did.


WHY COCONUT OIL, RAW HONEY, AND BANANA?

COCONUT OIL: There are numerous reasons why you should be using coconut oil on your hair. It makes your hair grow longer, thicker, and healthy. The vitamins and fatty acids found in coconut oil help nourish the scalp and penetrate the hair shaft. Coconut oil moisturizes the hair, adds shine, reduces breakage, and frizz.

RAW HONEY: As well as coconut oil, honey promotes hair growth, increases shine and moisturizes dry hair thanks to the emollient and humectant properties found in honey. It reduces hair breakage, reduces frizz, and naturally lightens the hair if left for an extended period.

BANANA: Besides being healthy, and delicious, bananas can also be used for your hair and skin. Bananas are rich in potassium, vitamins, and calcium that add shine and gloss to the hair. The antioxidants found in bananas infuse the scalp and decrease oxidative stress, which causes the hair to look brittle and dull. Bananas stimulate hair growth, moisturize, prevent dandruff, and reduces frizz.


INGREDIENTS:
  • 2 tbsp coconut oil
  • 2 tbsp raw honey
  • 1 ripe banana


DIRECTIONS :

1.) Mash the ripe banana in a bowl, until it creates a smooth paste.

2.) Then add the coconut oil, honey, and mix well to combine all of the ingredients.

3.) Apply the hair mask evenly onto dry hair.

4.) Cover the hair with a shower cap, and wait 15-30 minutes.

5.) Rinse thoroughly with shampoo and conditioner.


RELATED POSTS:

  • Natural Leave-In Conditioner
  • Natural Dry Shampoo
  • Homemade Rosewater
  • 6 Healthy Hair Tips For Summer
  • Share
    Tweet
    Pin
    Share
    No comments
     Whenever I get the opportunity to make my own skincare products, I go for it. Not only is it healthier for my skin, but it's more affordable and easy to make. For a couple of weeks now, I've been using this hydrating herbal face mist that I can't live without. It's perfect for the warmer weather as it always leaves my skin hydrated, refreshed, and glowy.


    WHY THESE 3 INGREDIENTS?

    GREEN TEA: Green tea has many benefits for the body, mind, and skin. It's rich in antioxidants that help fight inflammation and slow down aging.  It lessens the appearance of wrinkles and reduces redness. If you suffer from acne, using green tea can improve and prevent acne thanks to the polyphenols found in green tea, it fights against infection and damages bacterial membranes. Green tea contains several vitamins such as vitamin E, which are great for nourishing and hydrating dry skin.

    JASMINE OIL: Jasmine oil is one of my favorite essentials oils to use because it contains several benefits for the skin. If you suffer from dry and sensitive skin, then jasmine oil is a great option for you. It moisturizes the skin, leaving a beautiful glow to your complexion, and even contains anti-aging properties.


    FRACTIONATED COCONUT OIL:  Fractionated coconut oil does wonders for the skin, it contains nourishing fatty acids that hydrate dry skin. Its anti-aging properties help reduce the appearance of wrinkles. It's an excellent moisturizer that keeps the skin soft, healthy, and glowy.


    MATERIALS NEEDED:
    • Glass spray bottle
    • 8oz of hot water
    • 1 Green tea bag
    • 1-2 tbsp oil ( Fractionated coconut oil  for dry skin) or ( Jojoba oil for oily skin)
    • 5-10 drops of jasmine oil (for dry skin) or tea tree oil (for oily skin)


    DIRECTIONS:

    1.) Bring water to a boil and steep tea bag for 5-10 minutes.

    2.) Once the tea has cooled, remove the teabag, and transfer the water to a glass spray bottle.

    3.) Add the coconut oil (or any oil of choice) and a few drops of essential oil.

    4.) Shake the bottle well to combine all of the ingredients.

    Keep refrigerated and shake the bottle well before applying. Reapply several times throughout the day or whenever you need to freshen up...


    Share
    Tweet
    Pin
    Share
    No comments
      When it comes to my home, I try my best to stick to natural products, especially when it comes to cleaning. My son loves helping me clean around the house, so for that exact reason, I like using products that are natural and free of toxic chemicals. Besides, I don't mind making my own cleaning supplies, they're safer to use, I don't have to worry about my son inhaling harmful ingredients, and it's better for the planet. All of the supplies needed to make this homemade all-purpose cleaner are simple, you might already own it in your pantry, so with that being said, let's jump right in...


    WHY LEMON AND TEA TREE OIL?

    LEMON ESSENTIAL OIL: The reason I love using citrus essential oils like lemon is because of its refreshing scent. Not only does it smell amazing, but it's also great for disinfecting and getting rid of tough spots in your kitchen.

    TEA TREE OIL: Tea tree oil is one of my favorite essential oils to clean with, because of its natural antibacterial and antifungal properties.


    MATERIAL NEEDED:

    • 1 cup of distilled water
    • 1 cup of vinegar
    • 10 drops of lemon oil
    • 10 drops of tea tree oil


    TOOLS NEEDED:
    • Funnel
    • Glass spray bottle


    DIRECTIONS:

    1.) In a glass bottle, pour the water and the vinegar.

    2.) Add the drops of essential oil and shake the bottle well to combine.

    *Shake well before using it.*
    Share
    Tweet
    Pin
    Share
    No comments


    I'm the kind of gal that doesn't wash her hair every day because it's naturally dry. Besides, washing your hair less often is actually healthier. I usually go a week without washing my hair. Of course, throughout the week, my hair does get oily, and my go-to "hair product" is cornstarch. Yup, I'm serious, this thing works miracles, and is way better than any dry shampoo I've ever used. It's been almost 2 years since I made the switch, and I have zero regrets. Not only is cornstarch more affordable, but it's also natural, which means it's free of chemicals. To make this dry shampoo, you only need 2 ingredients or 3 if you want to add a scent to the recipe, so let's get started...


    INGREDIENTS:


    *FOR DARKER HAIR*

    • 2 tbsp of cornstarch ( you can substitute the cornstarch with rice powder or arrowroot powder)
    • 2 tbsp of cocoa powder 
    • optional 3-5 drops of essential oils

    *FOR LIGHTER HAIR*

    • 3 tbsp cornstarch
    • 1 tbsp of cocoa powder ( adjust the recipe depending on your hair color)
    • optional 3-5 drops of essential oil


    *Double the recipe depending on the size of your container *

    DIRECTIONS:

    1.) To make the dry shampoo, add cornstarch, cocoa powder, and essential oil in a clean container and mix everything well to combine.


    2.) Apply the dry shampoo with a makeup brush to the roots and massage the product with your fingertips.


    3.) Afterward, style your hair as you normally would, and you are all done!


    Share
    Tweet
    Pin
    Share
    1 comments
    Older Posts

    About me


    Hi there! My name is Stefany. I am the writer and creator of Opal Crown. a crafty blog that covers DIY projects, beauty, fashion, decor, lifestyle, sustainability, and much more.

    Subscribe For Weekly Updates

    * indicates required

    Popular Posts

    • Fringed Tassel Earrings
    • DIY Flaxseed Mask For Hair Growth
    • DIY Beaded Phone Charm
    • How to make rice water for hair growth
    • DIY Rose Petal Body Scrub
    • Thrifted Scalloped Glass Bowl Makeover
    • Playhouse Makeover
    • DIY Bandana Halter Top

    Featured Post

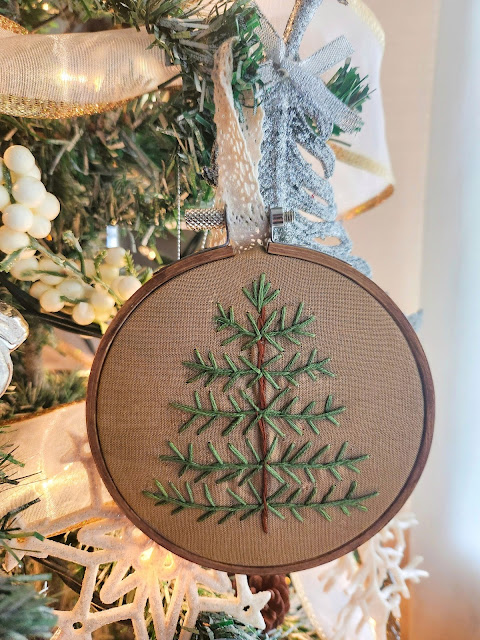
    DIY Embroidered Christmas Ornaments

    Are you looking for a unique gift idea or new, adorable ornaments to hang on your tree this year?   I have the answer—embroidered ornaments!...

    Click To Download

    Click To Download
    Stay focused and organized throughout the day with a daily planner to help you stay on track with your daily tasks. There are 3 different styles to choose from.

    Follow Us

    • instagram
    • pinterest
    • youtube
    • tik tok

    Created with by ThemeXpose | Distributed by Blogger Templates